Starting your day with a gentle morning yoga stretch routine can significantly enhance your flexibility, setting a positive tone for hours ahead and easing stiffness that builds overnight.

Why Morning Yoga is a Game-Changer for Flexibility
Many people wake up feeling stiff, a natural result of hours spent in one position. A dedicated morning stretch routine helps to gently warm up your muscles, lubricate your joints, and increase blood flow throughout your body. This isn’t just about feeling less “creaky”; it’s about actively improving your range of motion over time.
Beyond the physical benefits, morning yoga offers a valuable mental reset. It provides a quiet moment before the day’s demands begin, allowing you to connect with your breath and body. This mindful practice can reduce stress, improve focus, and cultivate a sense of calm that carries you through your busy schedule. Consistency is often easier to achieve in the morning, before other commitments derail your plans.
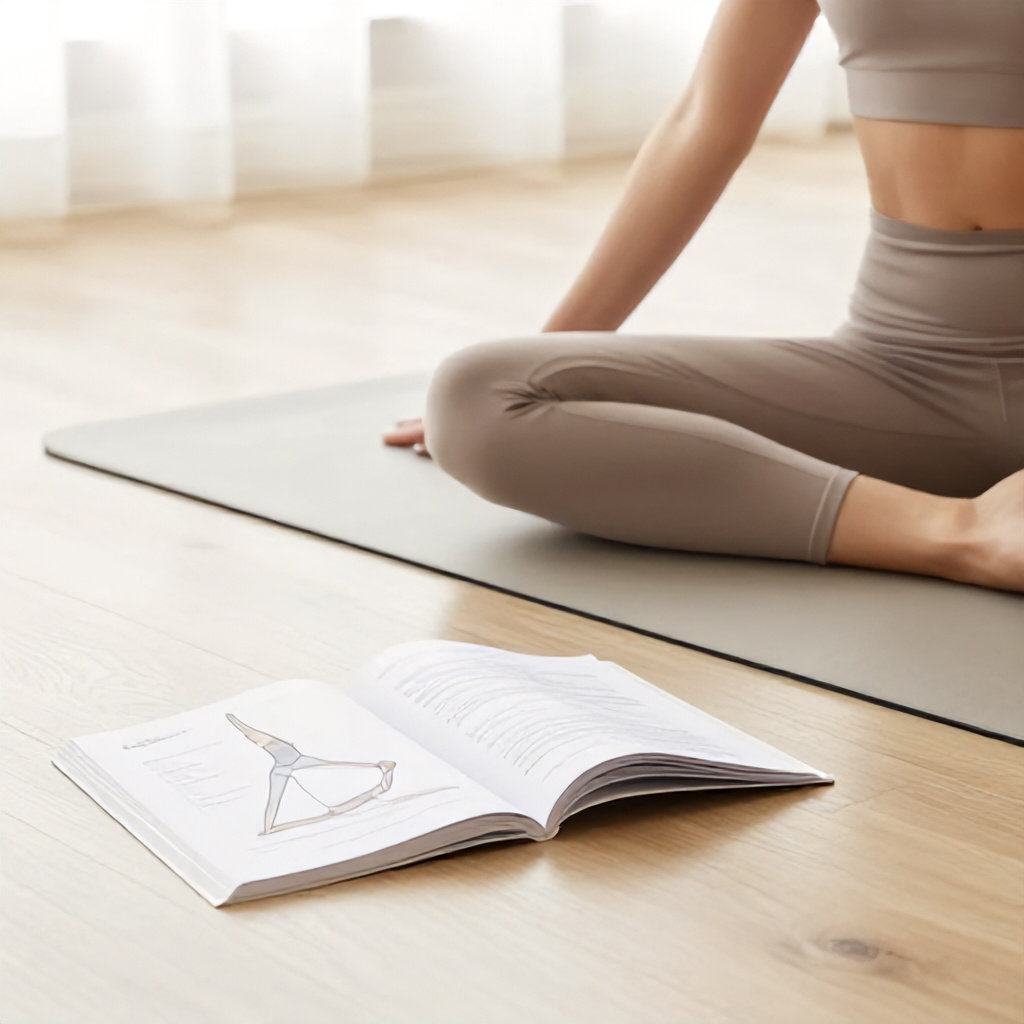
Getting Started: Your Simple Setup
You don’t need much to begin a morning yoga practice. The beauty of these stretches is their accessibility.
- A Yoga Mat: While not strictly necessary, a mat provides cushioning and grip, making poses more comfortable and stable. If you don’t have one, a soft rug or even a towel on a non-slip floor works just fine.
- Comfortable Clothing: Choose clothes that allow for a full range of movement without restricting your breath or pinching your skin. Think soft, stretchy fabrics.
- A Quiet Space: Find a corner where you won’t be disturbed for 15-30 minutes. Natural light can be invigorating, but any peaceful spot will do.
- No Equipment Needed: Forget about fancy blocks, straps, or bolsters for now. Your body is all you need.
Essential Principles for Your Morning Stretch
Approaching your morning routine with intention makes all the difference. Keep these guidelines in mind as you move.
- Listen to Your Body: This is perhaps the most important rule. Never force a stretch or push into pain. Your body’s sensations are your best guide. Some days you’ll feel more open, other days less so. Honor that.
- Breath is Key: Connect your movement with your breath. Inhale to lengthen, exhale to deepen. Deep, steady breaths, often through the nose, oxygenate your muscles and calm your nervous system. Try to make your inhales and exhales roughly equal in length.
- Hold Poses Gently: Aim to hold each stretch for 3-5 slow breaths. This gives your muscles time to relax and lengthen without triggering a “stretch reflex” that can cause them to contract.
- Be Gentle, Not Aggressive: Morning muscles are often cooler and less pliable. Approach your stretches with kindness and patience. Think of it as waking up your body, not conquering it.
- Consistency Over Intensity: A short, regular practice is far more effective than sporadic, intense sessions. Even 10-15 minutes daily will yield noticeable results over time.
Your Morning Yoga Stretch Routine for Enhanced Flexibility
This routine is designed to be gentle yet effective, progressively opening your body from head to toe. Remember to move slowly and mindfully through each pose.
1. Gentle Awakening: Grounding and Spinal Mobility
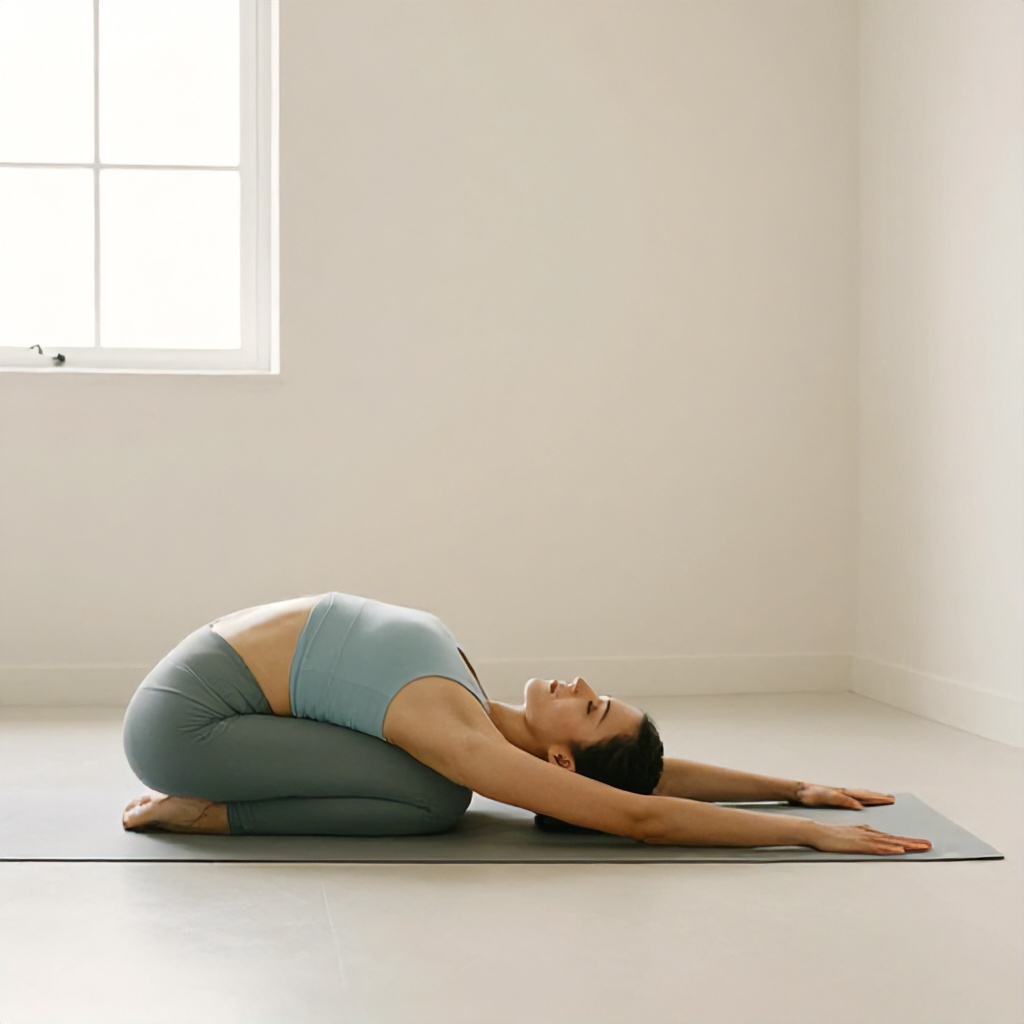
Child’s Pose (Balasana)
Start your practice here, grounding yourself. Kneel on your mat, bringing your big toes to touch and spreading your knees wide, or keep them hip-width apart for a more restorative feel. Sink your hips back towards your heels. Extend your arms forward, resting your forehead on the mat. Allow your shoulders to relax and your spine to lengthen. Breathe deeply into your back body, feeling your rib cage expand with each inhale. This pose calms the mind and gently stretches the hips, thighs, and ankles.
Cat-Cow Stretch (Marjaryasana-Bitilasana)
From Child’s Pose, shift onto your hands and knees, aligning your wrists directly under your shoulders and your knees under your hips. Your fingers should be spread wide. This dynamic movement warms up the spine.
- Cow Pose: As you inhale, drop your belly towards the mat, lift your chest and tailbone towards the ceiling. Gaze gently forward or slightly up, without crunching your neck.
- Cat Pose: As you exhale, round your spine towards the ceiling, tucking your chin to your chest and drawing your navel towards your spine. Imagine pressing the mat away from you.
Flow between Cat and Cow for 5-8 rounds, coordinating each movement with your breath. Feel the articulation of each vertebra. This improves spinal flexibility and mobility.
Gentle Supine Spinal Twist
Lie on your back with your knees bent and feet flat on the floor, hip-width apart. Extend your arms out to a “T” shape, palms facing up or down.
- Lift your hips slightly and shift them a few inches to the right.
- Let both knees fall slowly to the left, keeping your right shoulder grounded as much as possible.
- You can gaze to the right, opposite your knees, for a deeper neck stretch.
Hold for 5 breaths, feeling the gentle twist in your lower back and the stretch across your chest and shoulder. Bring your knees back to center, recenter your hips, then repeat on the other side, letting your knees fall to the right and gazing left. This pose releases tension in the spine and hips.
2. Standing Stretches: Building Warmth and Lengthening
Standing Forward Fold (Uttanasana)
Stand at the top of your mat with your feet hip-width apart.
- Inhale, lengthen your spine.
- Exhale, hinge from your hips, folding forward. Keep a slight bend in your knees, especially if your hamstrings are tight. The goal is to lengthen your spine, not necessarily to touch your toes with straight legs.
- Let your head hang heavy. You can grab opposite elbows, let your hands dangle, or place them on your shins or the floor.
Hold for 5 breaths, feeling the stretch in your hamstrings and along your spine. This pose calms the brain and helps relieve stress, while stretching the hamstrings and calves.
Low Lunge (Anjaneyasana)
From a Standing Forward Fold, step your right foot back into a lunge position, dropping your right knee to the mat. You can place a blanket under your knee for comfort.
- Ensure your left knee is stacked directly over your left ankle.
- Keep your left hand on the floor or a block for balance, or bring both hands to your left thigh.
- Gently press your hips forward and down, feeling the stretch in the front of your right hip and thigh (hip flexor).
- For an added stretch, inhale and sweep your arms overhead, palms facing each other.
Hold for 5 breaths, then release and switch sides. This pose is excellent for opening tight hip flexors, which often become stiff from prolonged sitting.
Triangle Pose (Trikonasana)
Step your feet wide apart, about 3-4 feet. Turn your right foot out 90 degrees, and your left foot slightly in.
- Extend your arms out to a “T” shape, parallel to the floor.
- Inhale, reach forward with your right hand, lengthening your right side.
- Exhale, hinge at your right hip, bringing your right hand to your shin, ankle, or a block. Your left arm reaches straight up towards the ceiling.
- Keep your chest open and stacked. Imagine you’re between two panes of glass.
- Gaze up at your left thumb, forward, or down at your right foot for neck comfort.
Hold for 3-5 breaths, feeling the stretch in your hamstrings, groin, and along the side of your torso. Inhale to come back up, then repeat on the other side. Triangle Pose strengthens the legs and core while stretching the hamstrings, groin, hips, and spine.
3. Floor Stretches: Deepening Flexibility and Release
Seated Forward Fold (Paschimottanasana)
Sit on your mat with your legs extended straight out in front of you, feet flexed (toes pointing up).
- Inhale, sit tall, lengthening your spine.
- Exhale, hinge from your hips, folding forward over your legs. Keep your spine long, avoiding rounding your back.
- Rest your hands on your shins, ankles, or feet.
- Keep a micro-bend in your knees if your hamstrings are very tight.
Hold for 5-8 breaths, allowing your body to soften into the stretch. This pose deeply stretches the hamstrings, calves, and back, and can calm the brain.
Bound Angle Pose (Baddha Konasana)
From Seated Forward Fold, bring the soles of your feet together, letting your knees fall open to the sides. You can bring your heels closer to your groin for a deeper stretch, or further away for a gentler one.
- Hold onto your feet, ankles, or shins.
- Inhale, sit tall, lengthening your spine.
- Exhale, gently fold forward from your hips, allowing your elbows to press lightly into your inner thighs if you wish to deepen the stretch.
Hold for 5-8 breaths, feeling the opening in your inner thighs and hips. This pose stimulates abdominal organs, improves general circulation, and stretches the inner thighs, groin, and knees.
Happy Baby Pose (Ananda Balasana)
Lie on your back.
- Bend your knees and draw them towards your chest.
- Grab the outside edges of your feet with your hands, keeping your knees bent and stacked over your ankles.
- Open your knees wider than your torso, drawing them towards your armpits.
- Keep the soles of your feet parallel to the ceiling.
- Gently press your lower back into the mat. You can rock gently side to side for a massage.
Hold for 5-8 breaths. This pose gently stretches the inner groins and back, and calms the brain and helps relieve stress.
Reclined Pigeon Pose (Eka Pada Rajakapotasana Variation)
Lie on your back with your knees bent and feet flat on the floor.
- Cross your right ankle over your left thigh, just above the knee.
- If you already feel a stretch in your right hip, stay here.
- For a deeper stretch, lift your left foot off the floor and interlace your fingers behind your left thigh.
- Gently draw your left thigh towards your chest, keeping your right foot flexed to protect your knee.
Hold for 5-8 breaths, feeling the deep stretch in your outer right hip and glute. Release and repeat on the other side. This is an excellent stretch for the outer hips and piriformis muscle.
4. Cool-down and Relaxation: Integrating Your Practice
Savasana (Corpse Pose)
Extend your legs long on the mat, letting your feet fall open naturally. Let your arms rest alongside your body, palms facing up, slightly away from your torso. Close your eyes. Allow your entire body to relax and surrender to the mat. Feel the effects of your practice. Let your breath be natural. Stay here for 5-10 minutes, allowing your body and mind to fully integrate the benefits of the stretches. This final pose is essential for relaxation and absorbing the practice.
Making It a Consistent Habit
Building a new routine takes time and patience. Don’t expect perfection from day one.
- Start Small: Even 5-10 minutes of gentle stretching is better than nothing. You can gradually increase the duration as you feel more comfortable and dedicated.
- Set a Specific Time: Waking up 15-30 minutes earlier and dedicating that time to your yoga practice can create a powerful anchor for your day.
- Be Patient with Progress: Flexibility doesn’t happen overnight. Celebrate small improvements, like reaching a little further or feeling less tension in a particular area.
- Focus on How it Feels: Shift your attention from how a pose looks to how it feels in your body. This internal focus makes the practice more personal and sustainable.
- Listen to Your Body’s Signals: Some days you might feel more flexible than others. Adjust your practice accordingly.
Common Mistakes to Avoid
Even with the best intentions, it’s easy to fall into habits that hinder progress or risk injury.
- Holding Your Breath: Restricting your breath creates tension. Always focus on smooth, steady breathing to help your muscles relax and lengthen.
- Forcing Stretches: Pushing past your body’s natural limits can lead to muscle strains or injury. A gentle pull is good; sharp pain is a warning sign to back off.
- Comparing Yourself to Others: Everyone’s body is different. Your flexibility journey is unique. Focus on your own progress and sensations, not on what others can do.
- Skipping Warm-up or Cool-down: These phases are crucial. The warm-up prepares your muscles, and the cool-down allows your body to relax and integrate the benefits.
- Ignoring Discomfort: While some sensation is normal during a stretch, sharp or shooting pain is not. Always adjust or back out of a pose if you feel pain.
Benefits Beyond Flexibility
While enhanced flexibility is a primary goal, a morning yoga routine offers a cascade of other positive effects that ripple through your entire day.
- Improved Posture: By lengthening your spine and strengthening your core, yoga helps counteract the slouching that often comes from sitting at desks or looking at screens.
- Reduced Stress and Anxiety: The combination of mindful movement and deep breathing actively calms the nervous system, providing a natural antidote to daily stressors.
- Increased Energy Levels: Moving your body and increasing blood flow in the morning can be more invigorating than a cup of coffee, without the jitters.
- Better Sleep Quality: Even a morning practice can contribute to better sleep by regulating your body’s rhythms and reducing overall stress throughout the day.
- Stronger Mind-Body Connection: Regular practice fosters a deeper awareness of your physical sensations and emotional states, leading to greater self-understanding and presence.
Embracing a morning yoga stretch routine is a simple yet profound act of self-care. It doesn’t require hours of dedication, just a willingness to show up for yourself, even for a few minutes. Over time, you’ll discover not only a more flexible body but also a calmer, more focused mind ready to meet the day with renewed energy and grace.