Step-by-Step Guide to Mastering the Tripod Headstand Yoga Pose

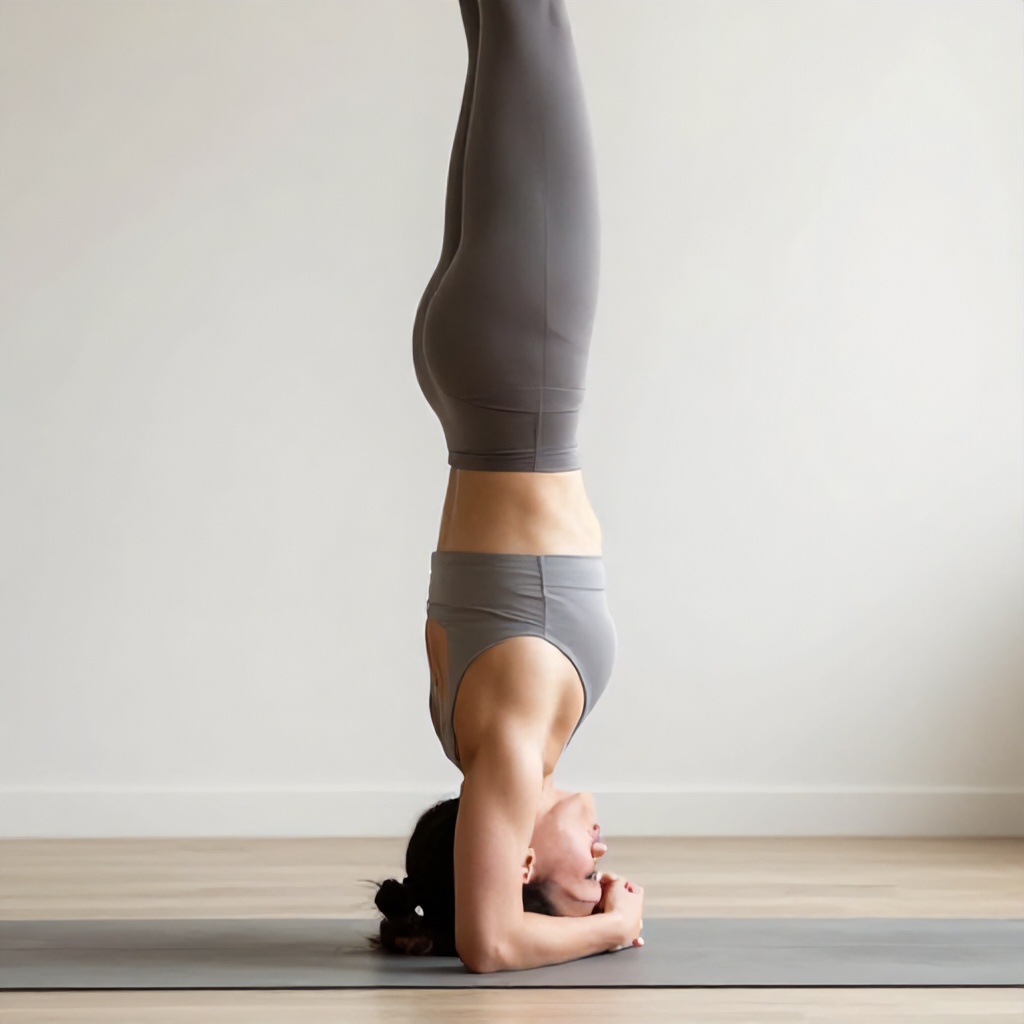
Understanding the Tripod Headstand

The tripod headstand, known in Sanskrit as Mukta Hasta Sirsasana, is an inverted yoga pose that relies on a triangular base formed by your two hands and the crown of your head. Unlike traditional headstands that use forearm support, this variation demands significant core stability and precise weight distribution to keep the neck safe. You are essentially balancing your entire inverted body weight on three points, which requires a foundation of strength in the shoulders and upper back before you even lift your feet off the floor.

Safety remains the primary concern during any inversion training. Because this yoga posture puts direct pressure on the cervical spine, you must ensure your neck muscles are engaged and your shoulders are actively pushing away from the floor. If you feel any pinching or sharp pain in your neck, you should exit the pose immediately. This practice is not about forcing your body into a shape but rather building the necessary musculoskeletal alignment over time.

Preparing Your Body for Inversion

Before attempting to lift your legs, you must prepare the muscles that support your spine. Many practitioners rush into the tripod headstand without establishing the proper foundation, leading to instability and potential injury. Focus on exercises that strengthen the core and increase shoulder mobility.

Building Core Stability

Core stability acts as your anchor when your feet leave the ground. Without a strong midsection, your body will sway, making it impossible to find your center of gravity. Practice these movements to prepare:

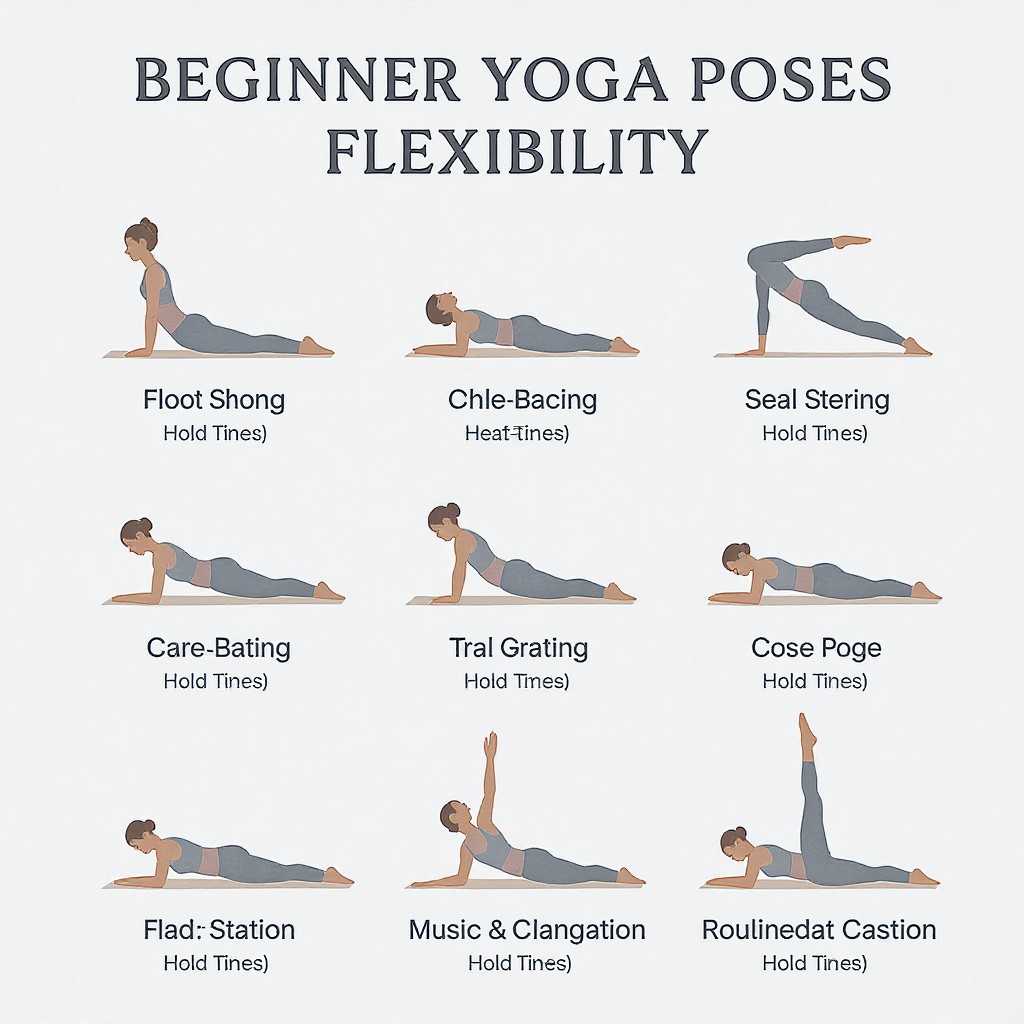
  • Plank pose: Hold for 60 seconds to build endurance in the abdominal wall.
  • Dolphin pose: This mimics the shoulder engagement required for inversions while keeping your feet on the floor.
  • Boat pose: Engage the deep abdominal muscles to help control your legs as they transition into the air.

Developing Shoulder Strength

Your shoulders carry the majority of your weight in this balancing asana. If your shoulders are weak, your head and neck will take the brunt of the pressure, which is dangerous. Push-ups and overhead presses are excellent ways to build the necessary power. During your yoga practice, focus on keeping the shoulder blades flat against your back rather than letting them wing out.

Establishing the Tripod Base

The foundation of the tripod headstand is the triangle you create with your hands and head. If this base is too narrow or too wide, you will lose your balance quickly. Proper placement is the most important part of your yoga instructional guide.

  1. Begin in a tabletop position on your mat.
  2. Place your hands shoulder-width apart, fingers spread wide to grip the floor firmly.
  3. Lower the crown of your head onto the mat, forming an equilateral triangle with your hands.
  4. Ensure your elbows are bent at a 90-degree angle, pointing directly back toward your feet rather than flaring out to the sides.

Once your hands and head are set, press into your fingertips. This simple action takes a significant amount of pressure off your head and distributes it across your palms. If your weight feels centered on your forehead, adjust your head position until the crown of your head is the primary contact point.

Executing the Lift

Moving from the floor into the inverted position requires patience and control. Avoid jumping or kicking your legs up, as this leads to a loss of stability control and potential falls. Use a slow, methodical approach to lift your body weight.

The Knee-to-Elbow Transition

Once your tripod base is secure, walk your feet toward your hands. Keep your hips high, aiming to stack them directly over your shoulders. This alignment is vital for maintaining balance. Gently tuck one knee onto the back of your corresponding tricep, then follow with the other. Pause here. You are now in a modified version of the pose. If you feel steady, you can slowly begin to extend your legs toward the ceiling.

Finding Your Vertical Line

As you extend your legs, keep your core engaged and your glutes active. Imagine you are squeezing a block between your thighs. This keeps your legs from feeling heavy or floppy. Keep your gaze fixed on one point in front of you—a wall or a specific mark on your mat helps maintain focus. If you find yourself arching your back, pull your ribs in and lengthen your tailbone toward your heels.

Safety and Common Mistakes

Even experienced yogis encounter challenges with this inversion. Recognizing common errors is part of the learning process. If you find yourself collapsing, it is usually due to a lack of shoulder engagement or a weak core.

Avoiding Neck Strain

The most common mistake is putting too much weight on the head. You should feel like you are pushing the floor away with your hands, effectively hovering your head lightly on the mat. If your neck feels tired after a session, you are likely dumping your weight into your cervical spine. Focus on lifting out of the shoulders.

Using a Wall for Support

Using a wall is a standard practice for those new to this yoga movement. Place your mat against a wall so that when you lift your legs, your heels can rest against the surface. This provides a safety net while you learn how to balance your inverted body weight. Once you feel comfortable and stable, move away from the wall to practice free-standing.

Refining Your Inversion Practice

Consistency is key to mastering the tripod headstand. You do not need to practice for hours every day. Short, focused sessions are more effective for building muscle memory and strength. Aim to incorporate this pose into your routine three to four times per week, allowing for rest days to let your muscles recover.

Pay attention to how your body feels after each session. A successful practice leaves you feeling energized and strong. If you feel dizzy, nauseous, or experience lingering soreness, take a break. Yoga is a long-term commitment to your health, and there is no reason to rush the process. As your strength grows, you will find that the tripod headstand becomes a natural part of your movement repertoire, offering a new perspective on your physical balance and mental focus.

Remember that every body is different. Your proportions, shoulder flexibility, and core strength will dictate how quickly you progress. Some people achieve a stable tripod headstand in weeks, while others take months. Both timelines are perfectly normal. Focus on the quality of your alignment rather than the duration of the hold. A five-second hold with perfect form is far more beneficial than a minute of struggling with poor posture.

Listen to your body throughout your inversion training. If you have any history of high blood pressure, glaucoma, or neck injuries, consult a healthcare professional before attempting this pose. There are many ways to enjoy the benefits of yoga, and it is important to choose the ones that are safe and sustainable for your specific needs.

Beginner Yoga for Flexibility: 9 Easy Poses to Get Started

Improving your flexibility through beginner yoga is about creating a sustainable routine that helps you move through daily life with less stiffness and more ease. Flexibility training is not just about performing impressive shapes on a mat; it is about lengthening tight muscles and improving your overall range of motion so that simple tasks like reaching for a high shelf or bending to tie your shoes feel effortless. By focusing on consistent practice, you can address common issues like back pain and poor posture while building a foundation for long-term physical health.

Understanding the Benefits of Flexibility

When you commit to a regular yoga practice, you are doing more than just stretching. You are teaching your nervous system to relax into new positions, which allows your muscles to become more pliable over time. Many people carry stress in their shoulders, hips, and lower back, leading to chronic discomfort. Yoga foundations help you identify these areas of tension and provide the tools to release them safely.

One of the primary life-changing benefits of this practice is the reduction of back pain. Many of us spend hours hunched over desks or looking down at screens, which causes the muscles in the chest to tighten and the muscles in the back to weaken. Through specific yoga poses for flexibility, you can counteract this slouching, leading to noticeable posture improvement. As your spine becomes more mobile, you will likely find that you stand taller and breathe more fully.

Mobility is another key factor. While flexibility refers to the length of your muscles, mobility refers to how well your joints move through their full range. A good stretching routine addresses both. When your muscles are supple and your joints are lubricated, you are less likely to experience the aches that often accompany aging or sedentary lifestyles. You will find that you can move with more grace and confidence, whether you are playing with your kids, gardening, or simply walking through your home.

Always prioritize good form over depth. It is better to perform a pose with a slight bend in your knees and a straight spine than to force your body into a position that causes pain. Use yoga props like blocks or straps to bring the floor closer to you if you feel like you are straining to reach your toes.

Essential Poses for Your Routine

Starting a new habit can feel overwhelming, but you only need a few foundational movements to see progress. These nine poses are designed to target the most common areas of tightness in the body.

1. Mountain Pose (Tadasana)

This is the starting point for all standing postures. Stand with your feet hip-width apart or together, grounding all four corners of your feet into the mat. Engage your thighs, lengthen your tailbone, and roll your shoulders back. This pose teaches you how to stack your bones correctly, which is the secret to better posture.

2. Forward Fold (Uttanasana)

From a standing position, hinge at your hips to fold your torso over your legs. Keep a generous bend in your knees if your hamstrings feel tight. This pose is excellent for calming the mind and stretching the entire back line of the body, from your heels up to your neck.

3. Cat-Cow Stretch (Marjaryasana-Bitilasana)

Come onto your hands and knees. As you inhale, drop your belly toward the floor and look up for Cow. As you exhale, round your spine toward the ceiling and tuck your chin for Cat. This movement warms up the spine and helps you coordinate your breath focus with physical movement.

4. Low Lunge (Anjaneyasana)

Step one foot forward between your hands and lower your back knee to the floor. Keep your front knee stacked over your ankle. This is a powerful hip opening pose that targets the hip flexors, which often become tight from sitting for long periods.

5. Seated Forward Bend (Paschimottanasana)

Sit on the floor with your legs extended straight in front of you. Inhale to lengthen your spine, and exhale to fold forward from your hips. If you cannot reach your feet, use a strap around your soles to maintain a straight back. This pose is a classic for lengthening the hamstrings and calming the nervous system.

6. Butterfly Pose (Baddha Konasana)

Sit with the soles of your feet together and let your knees fall open to the sides. Hold onto your ankles or feet and sit tall. This pose gently stretches the inner thighs and groin, areas that are often neglected in standard workouts.

7. Child’s Pose (Balasana)

Kneel on the floor, touch your big toes together, and sit back on your heels. Fold forward and rest your forehead on the mat. This is a resting pose that stretches the hips, thighs, and ankles while providing a moment to ease stress.

8. Supine Twist (Supta Matsyendrasana)

Lie on your back, hug your knees to your chest, and then let them fall to one side while you extend your arms out like a T. This gentle rotation helps release tension in the lower back and improves spinal mobility.

9. Corpse Pose (Savasana)

Lie flat on your back with your arms by your sides and palms facing up. Close your eyes and let your entire body go limp. This is the most important pose for integrating the benefits of your practice and allowing your muscles to fully recover.

The Role of Breath and Consistency

Flexibility training is not just physical; it is deeply connected to how you breathe. When you hold a stretch, your body’s natural reaction might be to tense up. By practicing deep belly breathing, you send a signal to your brain that it is safe to relax. Focus on slow exhalations, which help you release tension in the muscles you are trying to stretch. If you find yourself holding your breath, you are likely pushing too hard.

Building a yoga habit requires patience. You do not need to spend an hour on the mat every day. Even 10 to 15 minutes of consistent practice will yield better results than one long session once a week. Try to link your practice to an existing part of your day, such as right after you wake up or just before you go to bed. Keeping your mat unrolled or your space clean and inviting can also make it easier to show up for yourself.

Never force a stretch to the point of sharp pain. You should feel a mild, manageable sensation of tension. If you feel a pinching or stabbing sensation, back out of the pose immediately. Your body needs time to adapt, and pushing past your limits can lead to injury rather than progress.

Tracking Your Progress

It is easy to feel like you aren’t making progress when you are looking at your body every day. To stay motivated, keep a simple journal where you track your range of motion. Note how far you can reach in a forward fold or how much easier it feels to sit cross-legged. Over time, these small markers will show you that your consistent practice is working. Remember that some days you will feel more flexible than others, and that is perfectly normal. Factors like sleep, stress, and hydration play a huge role in how your muscles feel.

Optimizing Your Results

To get the most out of your flexibility training, treat your body like an athlete. Stay hydrated, as hydrated muscles are more pliable and less prone to cramping. If you are doing a more intense stretching routine, warm up your body first with some light movement or a few rounds of sun salutations. Stretching after workouts is also highly effective because your muscles are already warm and more receptive to lengthening.

If you are struggling with specific poses, do not hesitate to use props. A block can bring the floor to you, and a strap can act as an extension of your arms. These tools are not a sign of weakness; they are a sign of intelligence. They allow you to maintain good form, which is the only way to safely increase your range of motion over time.

Frequently Asked Questions

1. How often should I practice for flexibility?

Aim for at least 3 to 5 times per week. Consistency is more important than duration, so shorter, frequent sessions are better than one long, infrequent one.

2. How long will it take to see results?

Some improvements in how your body feels can be noticed in just a few weeks. Significant changes in range of motion usually take a few months of regular practice.

3. Can I do these poses if I’m not flexible at all?

Yes, yoga is for everyone. You do not need to be flexible to start; you practice to become flexible. Use props, go slow, and listen to your body.

4. Should I warm up before yoga?

A gentle warm-up is always a good idea. Even five minutes of walking or light movement helps prepare your muscles for deeper stretching.

5. Can I combine this with other workouts?

Yes, yoga complements strength training and cardio perfectly. It helps balance out the tightness that can come from repetitive movements in other sports.

Final Thoughts on Your Practice

Building a beginner yoga routine is a journey of self-discovery. As you learn to listen to your body, you will find that you are not just gaining physical flexibility, but also a greater sense of mental clarity. The ability to sit with discomfort, breathe through it, and release it is a skill that translates to every area of your life. Keep showing up, stay patient with your progress, and enjoy the process of becoming more comfortable in your own skin.

Exit mobile version