
Your Simple, Visual Guide to a Perfect Morning and Night Skincare Routine
Achieving healthy, glowing skin doesn’t require a million complicated steps or a cabinet overflowing with products; it’s about consistency and using the right things at the right time. This visual guide breaks down your essential morning and night skincare routine into easy-to-follow steps, complete with ideas for product visuals to help you picture your own beauty routine.

Morning Routine: Wake Up Your Skin
Your morning skincare routine is all about protecting your skin from the day’s environmental stressors and preparing it for makeup, if you wear it. Think of it as giving your skin a shield and a fresh start.
Step 1: Cleanse Gently
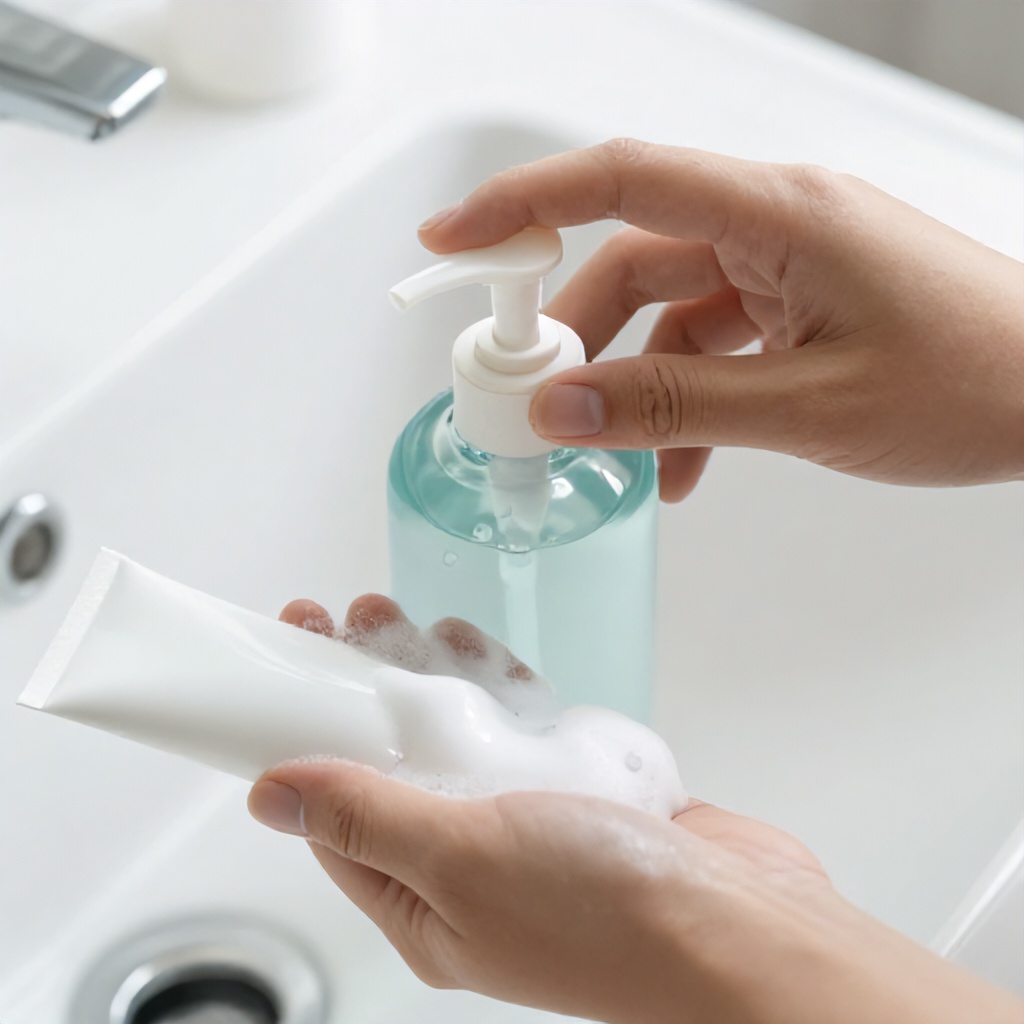
Even if you cleansed the night before, a quick, gentle cleanse in the morning removes any oil or sweat that accumulated overnight. You don’t need a harsh scrub here; something mild is key.
Product Visual Idea: Imagine a clear, almost water-like cleanser in a sleek pump bottle, or a soft, foamy cleanser in a tube with a minimalist design. The visual could show a few liquid droplets being dispensed onto fingertips.
Step 2: Tone (Optional but Recommended)
A toner can help rebalance your skin’s pH after cleansing and prep it to better absorb the next products. Look for hydrating or balancing formulas.
Product Visual Idea: Picture a pale green toner in a clear bottle, perhaps with a fine mist sprayer. The visual could show a light spray misting onto the skin, or a few drops being applied to a cotton pad.
Step 3: Apply a Serum
Serums are concentrated treatments that target specific concerns like brightness, hydration, or anti-aging. Vitamin C serums are popular in the morning for their antioxidant and brightening benefits.
Product Visual Idea: Envision a small glass dropper bottle filled with a golden or pale yellow serum. The visual could show a creamy smear of serum on a fingertip, or the serum being carefully dropped onto the skin.
Step 4: Eye Cream
The skin around your eyes is delicate and often shows the first signs of aging or fatigue. A dedicated eye cream can hydrate and protect this area.
Product Visual Idea: Think of a small jar or a slim tube with a rollerball applicator. The visual could show a tiny amount of rich, creamy eye cream being dabbed gently with a ring finger.
Step 5: Moisturize
This is non-negotiable! Moisturizer keeps your skin hydrated and strengthens its natural barrier. Choose a formula appropriate for your skin type – lighter lotions for oily skin, richer creams for dry skin.
Product Visual Idea: A clean white background showcasing a variety of moisturizer containers: a tub with a screw-top lid, a pump bottle, or a tube. The visual could highlight the texture – a soft, creamy smear or a smooth, spreadable consistency.
Step 6: Sunscreen (The Most Important Step!)
This is the absolute hero of your morning routine. Sunscreen protects your skin from damaging UV rays, preventing premature aging and reducing the risk of skin cancer. Aim for SPF 30 or higher, broad-spectrum protection.
Product Visual Idea: A bright, sunny visual featuring a sunscreen tube or pump bottle. The graphic could show a generous dollop of sunscreen being applied, emphasizing its protective qualities. Use neutral tones for the surrounding elements to keep the focus on the product.
Night Routine: Repair and Renew
Your night skincare routine is all about removing the day’s grime and applying treatments that work while you sleep to repair and regenerate your skin. It’s a crucial part of your overall skincare regimen.
Step 1: Double Cleanse
This is key for effectively removing makeup, sunscreen, and the day’s impurities. Start with an oil-based cleanser or micellar water to break down oil-based impurities, followed by a water-based cleanser.
Product Visual Idea: Show two different cleansing products side-by-side. Perhaps an oil cleanser in a pump bottle and a foaming cleanser in a tube. The visual could depict the oil cleanser dissolving makeup residue, followed by the foam cleanser creating a gentle lather.
Step 2: Exfoliate (1-3 Times Per Week)
Exfoliation removes dead skin cells, revealing brighter, smoother skin underneath. You can use a physical scrub or a chemical exfoliant (like AHAs or BHAs). Don’t overdo it; once or twice a week is usually enough.
Product Visual Idea: Imagine a scrub with visible particles in a jar, or a serum with a slightly thicker consistency in a dropper bottle. The visual could show tiny granular particles in a creamy base, or a few liquid droplets of an exfoliating treatment.
Step 3: Tone
Similar to the morning, toning at night helps balance your skin and prepare it for treatment products.
Product Visual Idea: A repeat of the morning toner visual, perhaps in a slightly different shade of pale green or a neutral tone, reinforcing its consistent role.
Step 4: Treatments/Serums
This is where you can really target specific concerns. Retinoids, peptides, and hydrating serums are excellent choices for nighttime application.
Product Visual Idea: A collection of small, potent-looking bottles and jars. Think of a dark glass bottle for a retinoid serum, or a jar of a rich, reparative cream. The visual could show a creamy smear of a luxurious night treatment.
Step 5: Eye Cream
Continue to care for the delicate eye area. A richer eye cream might be beneficial at night.
Product Visual Idea: Similar to the morning eye cream visual, perhaps emphasizing a slightly thicker, more emollient texture in a jar.
Step 6: Moisturize or Night Cream
Seal in all those beneficial treatments with a nourishing moisturizer or a dedicated night cream. Night creams are often richer and designed to support skin repair.
Product Visual Idea: A luxurious-looking jar or pump bottle of night cream. The visual could show a thick, decadent creamy smear, highlighting its rich texture, possibly against a soft color palette like pale green or muted beige.
Step 7: Facial Oil (Optional)
For an extra boost of hydration and nourishment, especially for dry or mature skin, a facial oil can be a wonderful final step. Pat it gently over your moisturizer.
Product Visual Idea: A small, elegant bottle with a dropper, filled with a clear or amber-colored oil. The visual could show a few glistening liquid droplets being pressed into the skin.
Visualizing Your Skincare Products
When you think about your skincare regimen, picturing the actual products can make the routine feel more tangible and enjoyable. Imagine your products laid out on a clean white background, creating a minimalist design that highlights their cosmetic packaging.
Morning Routine Visuals: Think bright, fresh, and protective. A clear pump bottle of cleanser, a vibrant Vitamin C serum in a small dropper, a lightweight moisturizer in a sleek tube, and a prominent sunscreen bottle. The overall feel should be airy and energizing.
Night Routine Visuals: Imagine deeper, richer textures and more potent treatments. A dark glass bottle of a treatment serum, a jar of a luxurious night cream with a visible creamy smear, and perhaps a gentle exfoliator in a smaller tub. The color palette might lean towards deeper, calming tones or remain neutral to emphasize the product textures.
Consider showing the product textures themselves: the smooth, almost gel-like consistency of a toner, the rich, opaque nature of a cream, or the delicate sheen of an oil. These visual representations help you understand what you’re applying and how it might feel on your skin.
The goal is to create a visual representation of your daily skincare steps that is both instructional and aesthetically pleasing, making your beauty routine a moment of self-care rather than a chore.