
Tracking your dermatological journey through photos provides the most reliable way to measure skin texture improvement and overall complexion clarity. Memory often fails when you look in the mirror every single day, making it difficult to notice the subtle shifts in redness reduction or the gradual smoothing of acne-prone skin. By establishing a consistent documentation system, you move away from emotional guesswork and toward an objective visual skin assessment that helps you identify which products actually work for your specific needs.

Establishing a Reliable Photography Protocol
Consistency is the foundation of any useful skincare progression log. If your lighting, angle, or camera settings change every time you snap a photo, you will never be able to accurately compare your results. You need a controlled environment to see the true state of your epidermal health.
The Setup for Accurate Documentation
Find a spot in your home with consistent, indirect natural light. Avoid using the bathroom mirror if the lighting is harsh or yellow, as this distorts the appearance of inflammation and skin tone evening. Instead, stand facing a window during the day. Do not use the flash, as it washes out texture and hides the very details you are trying to track, such as pore refinement or active blemish control.
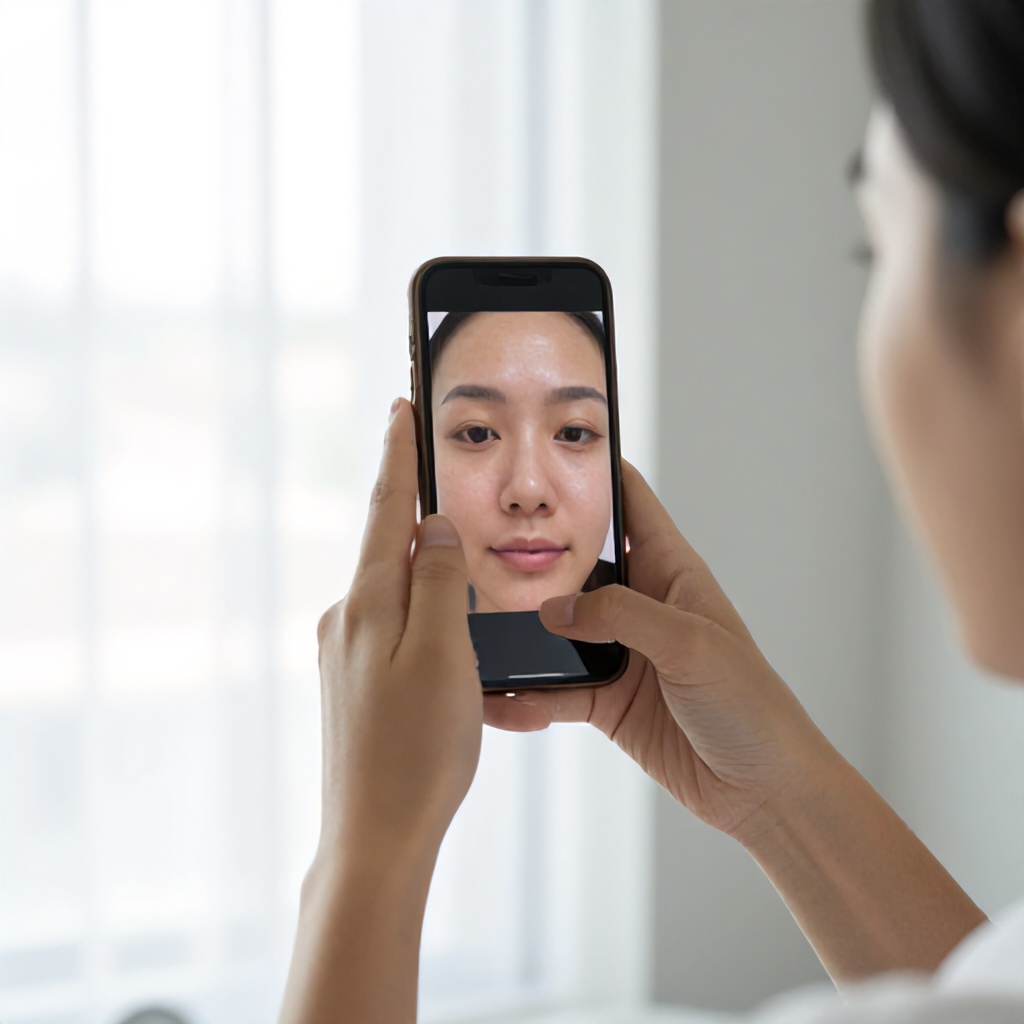
Position your camera at the exact same distance from your face every time. A tripod or a stable stack of books works wonders here. Keep your expression neutral. Smiling or squinting changes the way your skin folds and stretches, which can mask the reality of your post-acne scarring or general skin texture. Take three photos: one straight on, one of the left profile, and one of the right profile.
Frequency and Timing
Taking photos every single day is unnecessary and often leads to burnout. Your skin cells turn over roughly every 28 to 40 days, meaning significant changes in inflammatory acne or surface smoothness take time to manifest. Aim to take your progress photos once every two weeks. Pick a specific day, such as the first and fifteenth of the month, to ensure you stay on track. Always take these photos at the same time of day, ideally in the morning before you apply any makeup or heavy serums, so you are capturing your bare skin in its most honest state.
Analyzing Your Visual Data
Once you have a collection of photos, you need a system to organize them. Digital folders are your best friend. Create a dedicated album on your phone or computer labeled by month. When you look back at these images, you are looking for specific markers of change rather than just hoping for a miracle overnight.
Identifying Texture Changes
Look closely at the high-resolution images to spot signs of pore refinement. When you are dealing with acne management, the skin often feels bumpy or congested. Over time, effective therapeutic skincare should soften these rough patches. Zoom in on areas where you previously had active breakouts. Are the bumps flatter? Is the skin around the area less reactive? These are signs that your skin barrier repair efforts are succeeding.
Tracking Redness and Tone
Inflammatory acne often leaves behind lingering redness or hyperpigmentation. Compare your photos to see if the intensity of these marks is fading. You might notice that while the acne itself is still present, the surrounding skin tone is evening out. This is a positive indicator that your inflammation levels are dropping. If you notice the redness is spreading or becoming more intense, it might be a sign that a specific product is irritating your skin rather than helping it.
The Role of a Skincare Journal
Visual evidence tells you what is happening, but a written journal tells you why. Pairing your photos with a brief log of your routine creates a full picture of your dermatological results. You do not need to write a novel. A simple bulleted list of the products you used that morning and evening is enough.
Logging Product Changes
When you introduce a new active ingredient, such as a retinoid or a chemical exfoliant, note the date in your journal. If you notice a sudden change in your skin—either positive or negative—you can look back to see exactly when you started that product. This helps you avoid the common mistake of blaming a new moisturizer for a breakout that was actually caused by a different product you started a week earlier.
Monitoring Skin Sensitivity
Pay attention to how your skin feels. Does it feel tight or itchy? Does it sting when you apply your moisturizer? These sensations are vital clues about your skin barrier health. If your photos show increased redness and your journal notes frequent stinging, your skin is likely over-exfoliated or dehydrated. Use this information to pause your actives and focus on gentle, hydrating products until your skin calms down.
Understanding the Timeline of Results
Patience is the hardest part of any skincare routine. Many people quit their products too early because they do not see immediate facial rejuvenation. Understanding how long it takes for ingredients to work helps you stay the course.
The First Four Weeks
During the first month, you are mostly testing for tolerance. Your skin might purge, which is a temporary increase in breakouts as your skin speeds up its cell turnover. Do not panic. Keep taking your photos. If the breakouts are in areas where you usually get them, it is likely a purge. If you are breaking out in new areas, it might be a reaction to a product.
The Three-Month Milestone
Three months is the golden window for most dermatological treatments. By this point, you should see a noticeable shift in your skin texture improvement. The inflammation should be significantly lower, and your skin should feel smoother to the touch. This is the time to compare your very first photo with your current one. The difference is often striking, even if you did not notice it day by day.
Common Pitfalls in Progress Tracking
Even with the best intentions, it is easy to fall into traps that make your progress look worse than it is. Avoid these common mistakes to keep your data accurate.
The Comparison Trap
Do not compare your skin to filtered images on social media. Those images are not real. They are edited, lit by professional equipment, and often taken by people with different skin types and concerns. Your only competition is your own skin from two weeks ago. Focus on your personal journey and the specific goals you set for your own complexion clarity.
Over-Analyzing Minor Fluctuations
Your skin will have bad days. Hormonal cycles, stress, diet, and sleep all impact your skin. If you have a breakout during a high-stress week, do not assume your entire routine has failed. Look at the broader trend over several months. If the overall direction is toward healthier, clearer skin, then your routine is working, even if you have a temporary setback.
Mixing Too Many Variables
If you change your cleanser, toner, serum, and moisturizer all at once, you will never know which one is responsible for your results. Change one product at a time and wait at least two weeks before adding another. This keeps your documentation clean and makes it easy to identify the winners and losers in your skincare cabinet.
Practical Tips for Long-Term Success
Keeping your documentation organized ensures you can use the information to make better choices in the future. Treat your skin like a science experiment where you are the lead researcher.
- Use a dedicated app or a simple folder on your phone to keep photos separate from your personal life images.
- Write down the specific concentrations of your active ingredients, as this matters for long-term results.
- Note any environmental factors, such as a change in weather or a move to a new city, as these affect skin health.
- Be honest in your notes. If you skipped your routine for three days, write it down. It explains why your skin might look a certain way in your photos.
- Celebrate the small wins. If your forehead is smoother, acknowledge it. Positive reinforcement helps you stick to your routine.
Evaluating Professional Intervention
Sometimes, at-home care is not enough. If you have been consistent with your routine for six months and your photos show no improvement in inflammatory acne or deep scarring, it is time to seek professional help. A dermatologist can provide a clinical skin analysis that goes beyond what you can see in a mirror.
When to See a Professional
If your acne is painful, deep, or leaving permanent marks, do not wait. A professional can offer treatments that are not available over the counter. Bring your photos to your appointment. They are incredibly helpful for a doctor to see exactly how your skin reacts to different products and how your acne has progressed over time. It saves time and helps them tailor a plan specifically for you.
Integrating Professional Advice with Home Care
Once you start a professional treatment, keep documenting. Your doctor will want to see how you respond to prescription medications or professional procedures. Your photos become a bridge between your home routine and your clinical visits, ensuring that everyone is on the same page regarding your progress.
Maintaining Your Gains
Once you reach your goal, do not stop documenting entirely. Maintenance is just as important as the initial treatment phase. Your skin needs change as you age and as your environment shifts. Continuing to take photos every month or two helps you catch potential issues before they become major problems.
- Review your photos every quarter to see if your skin needs a seasonal adjustment.
- Keep your successful products in your routine, but be ready to swap them out if your skin stops responding.
- Continue to prioritize skin barrier repair, as it is the foundation of all healthy skin.
- Stay consistent with your sun protection, as this is the single most important factor in preventing long-term damage and maintaining your results.
- Keep your documentation folder as a reminder of how far you have come. It is a great motivator when you feel like your skin is having a rough patch.
Tracking your skin journey is an act of self-care. It removes the anxiety of not knowing if your efforts are paying off and replaces it with concrete evidence of your progress. By staying consistent with your photos and your journal, you gain a deeper understanding of your skin and what it truly needs to thrive. This knowledge is the most powerful tool you have in your quest for healthy, clear, and resilient skin. Keep your setup simple, your documentation regular, and your expectations realistic. Your skin will thank you for the attention and the patience you invest in its health.
Remember that every skin type is unique. What works for one person may not work for another, and that is perfectly fine. The goal is not to achieve a specific look you saw on a screen, but to reach a state where your skin feels comfortable, healthy, and balanced. Your photos are the map that helps you get there. They show you the path you have traveled and help you navigate the road ahead. Stay focused on your own progress, keep learning about your skin’s unique needs, and trust the process of consistent, gentle care.
As you continue this practice, you will find that you become much more intuitive about your skin. You will start to notice the early signs of a breakout before it even appears, or you will recognize when your skin is craving more moisture. This level of awareness is the ultimate goal of any skincare journey. It turns a chore into a meaningful practice that supports your overall well-being. Keep your camera ready, keep your journal updated, and enjoy the process of watching your skin transform over time.