Yoga poses function as a physical language that communicates directly with your nervous system. When you look at high-quality yoga illustrations, you notice how specific shapes create stability or release tension. These yoga postures are not just about flexibility; they are about understanding your own anatomy through intentional movement. Whether you are practicing on a mat in a room with muted purple walls or following a digital guide set against a peachy-pink background, the goal remains the same: finding alignment.

Foundational Standing Poses
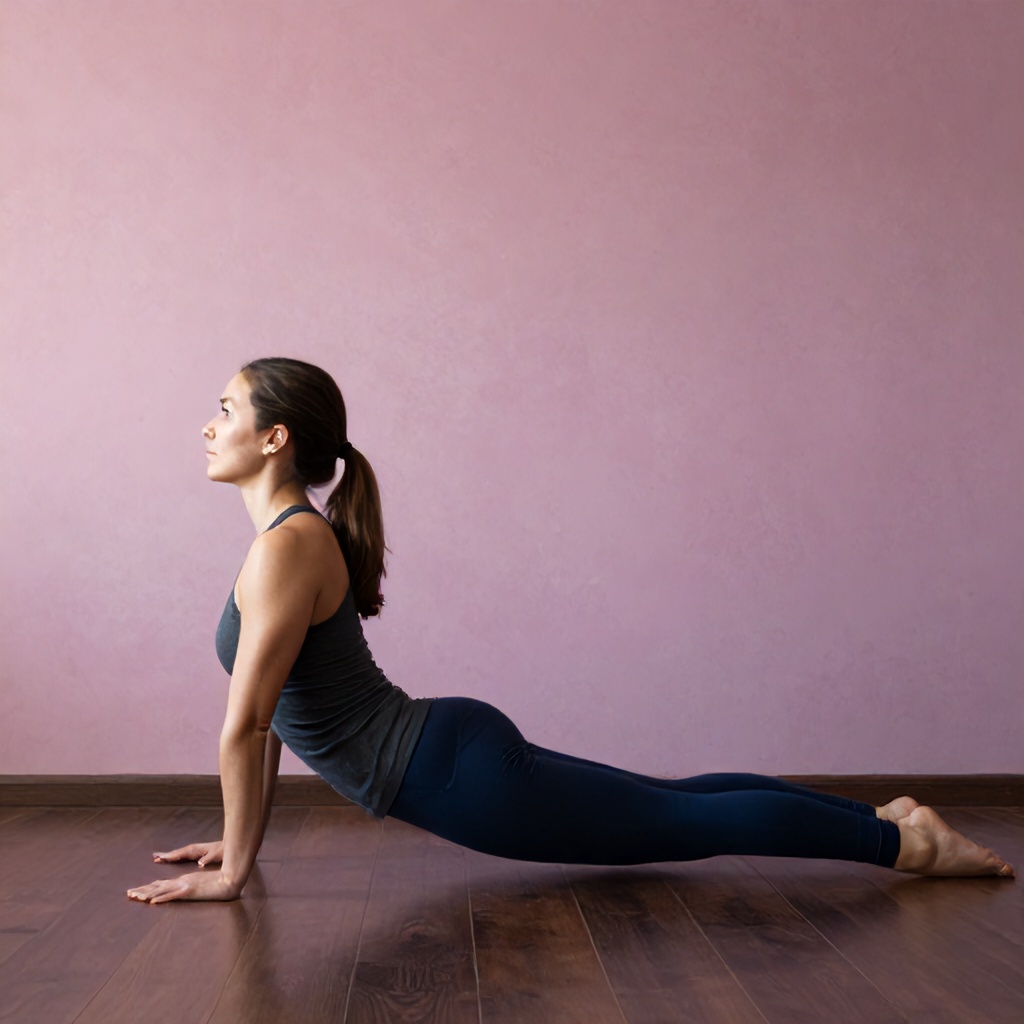
Standing asanas provide the bedrock for your entire yoga practice. They build heat, improve balance, and ground your energy. When you look at a profile view of a standing pose, you can clearly see the line of energy traveling from the crown of the head down to the heels. This is where yoga alignment becomes visible.
Mountain Pose (Tadasana)
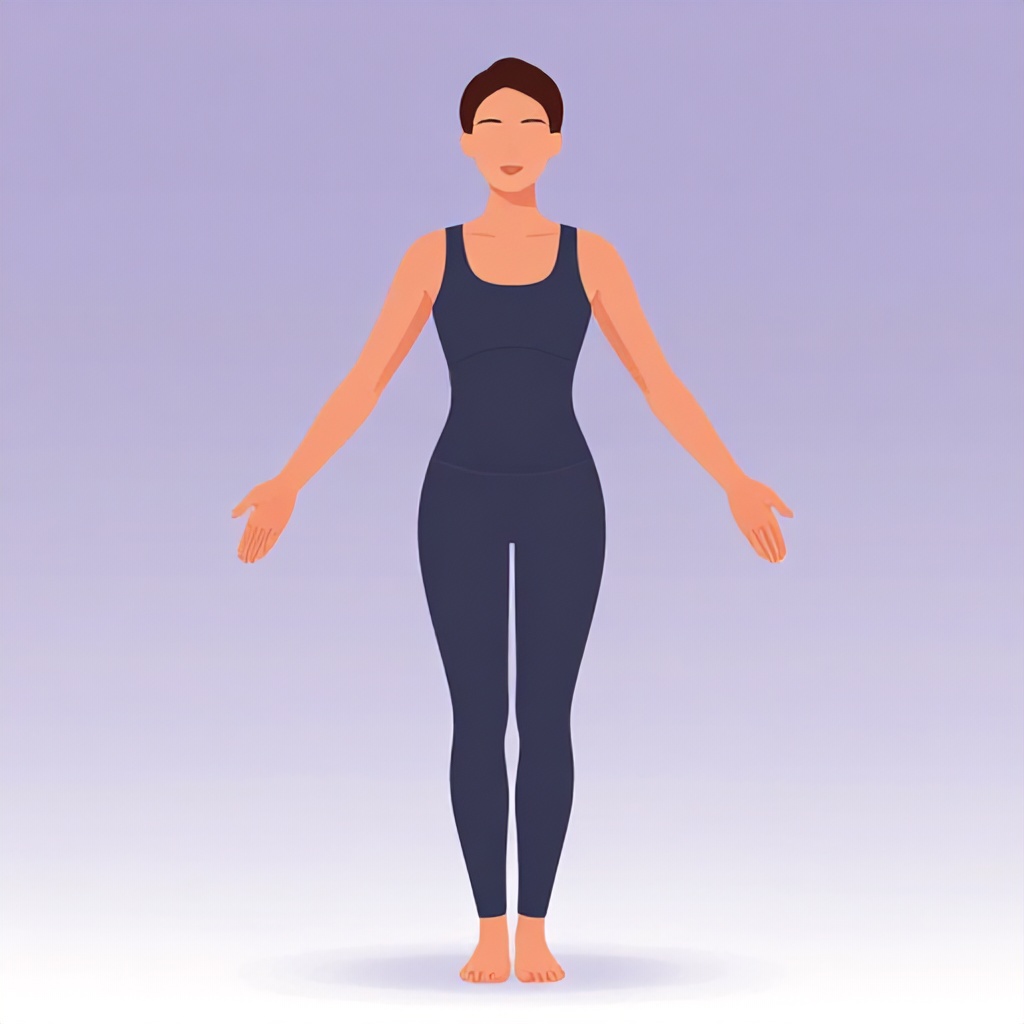
Mountain pose looks deceptively simple. You stand with your feet hip-width apart, rooting down through all four corners of your feet. Imagine a string pulling the top of your head toward the ceiling. Your shoulders should be relaxed, away from your ears, and your palms face forward. This posture teaches you how to stand with intention. It is the starting point for almost all yoga sequences. Focus on keeping your spine neutral and your breath steady. Avoid locking your knees; keep a micro-bend to maintain active engagement in your quadriceps.
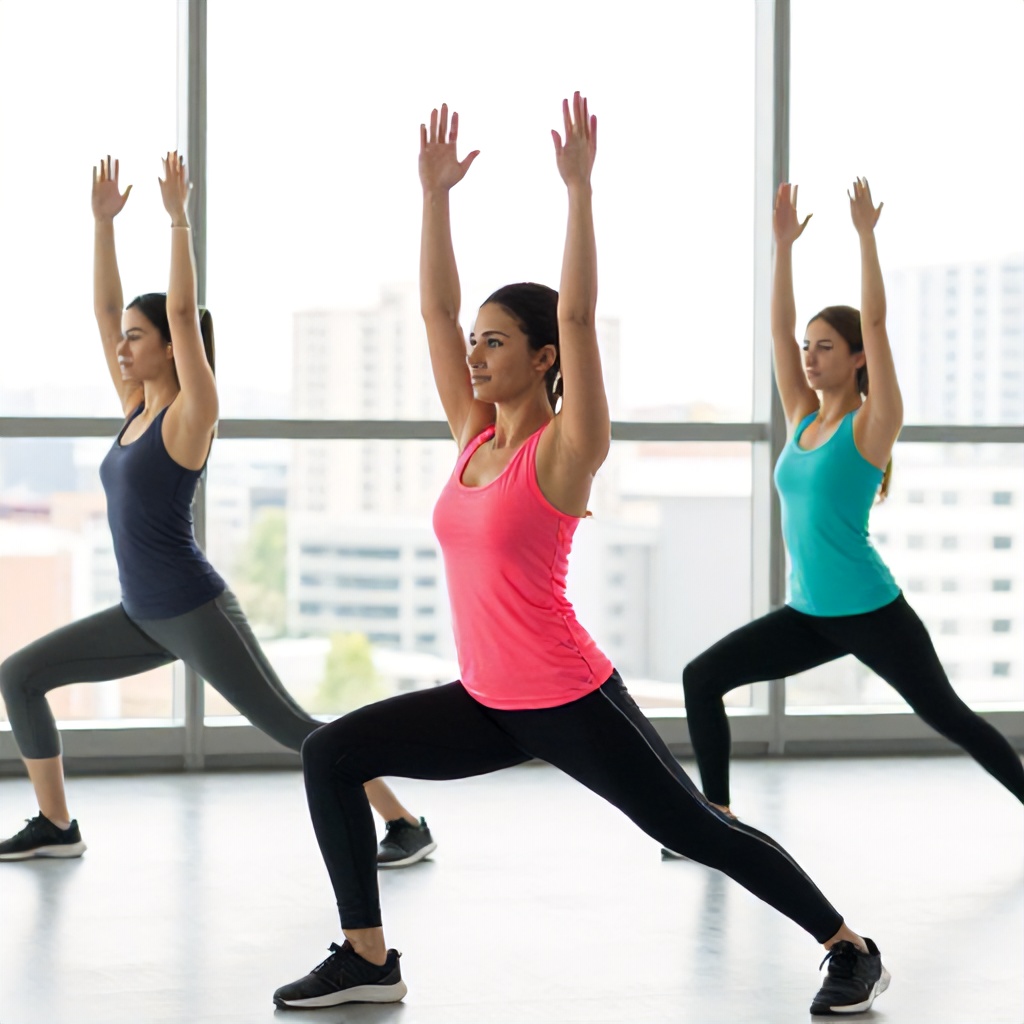
Warrior II (Virabhadrasana II)
Warrior II is a powerful shape that builds strength in the legs and opens the hips. Step your feet wide apart, turning your front foot forward and your back foot slightly inward. Bend your front knee until it aligns directly over your ankle. Extend your arms out to the sides, parallel to the floor, with a clean sans-serif font style of focus—sharp, clear, and direct. Keep your torso centered between your legs. Many people lean forward, but your goal is to keep your shoulders stacked directly over your hips. This pose is a staple in most yoga diagrams because it effectively demonstrates the balance between effort and ease.
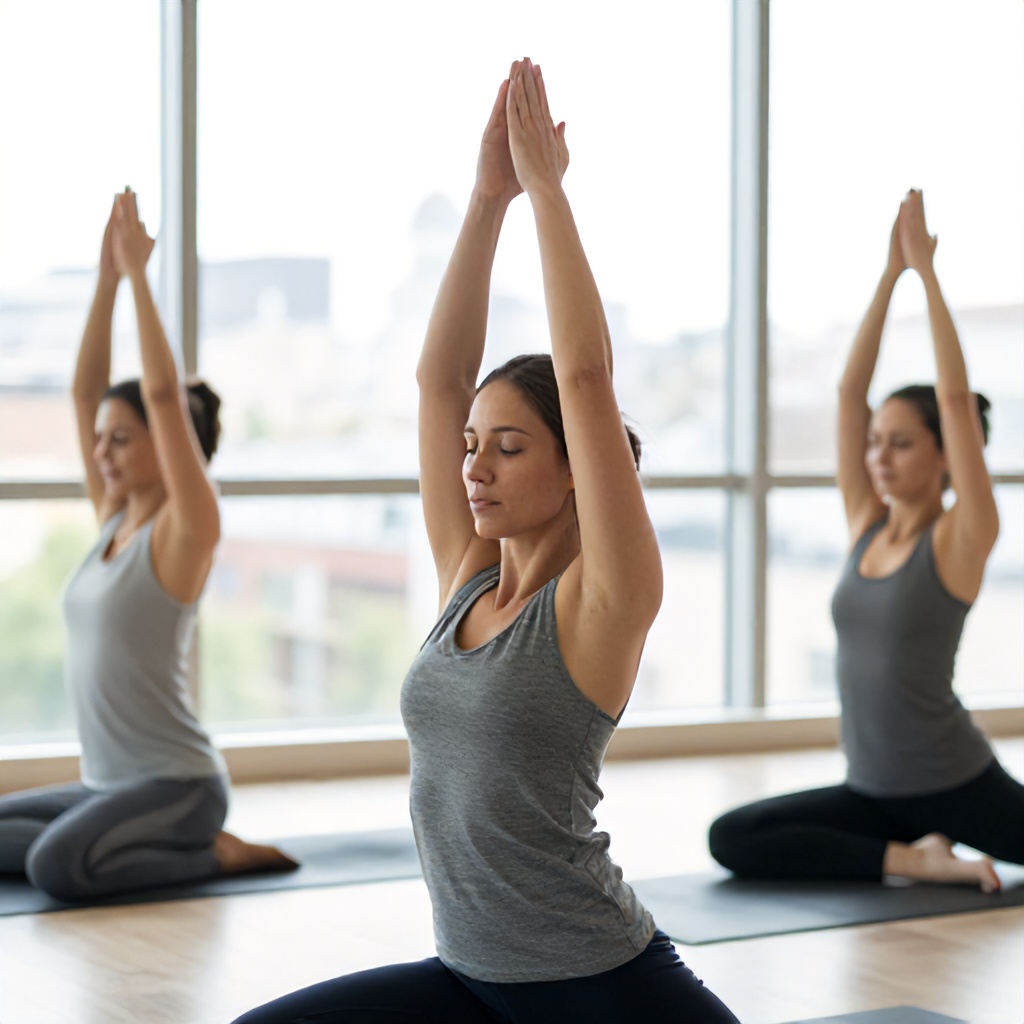
Seated and Floor-Based Shapes
Floor-based yoga positions allow you to slow down and focus on deep stretching. These movements are often used at the end of a session to calm the mind. When you study yoga art, you will notice that seated poses often involve concentric circles of energy, representing the way breath moves through the torso.
Child’s Pose (Balasana)
Child’s pose is a resting position that provides a gentle stretch for the hips, thighs, and ankles. Kneel on the floor, touch your big toes together, and sit on your heels. Separate your knees about as wide as your hips. Exhale and lay your torso down between your thighs. Rest your forehead on the mat. You can extend your arms forward or bring them back alongside your body. This is a restorative shape that helps you reconnect with your breath. If your hips feel tight, place a folded blanket under your seat for extra support.
Seated Forward Fold (Paschimottanasana)
This pose targets the hamstrings and the lower back. Sit on the floor with your legs extended straight in front of you. Flex your feet, pointing your toes toward the ceiling. Inhale to lengthen your spine, and exhale to fold forward from your hips, not your waist. Reach for your shins, ankles, or feet. Keep your chest open rather than rounding your back. The visual representation of this pose often emphasizes the long, straight line of the spine. If you cannot reach your feet, use a strap around the soles to maintain proper alignment without straining your shoulders.
Balancing and Inversion Basics
Balancing poses require intense concentration and core stability. They are the most challenging yoga movements for many beginners, but they offer the greatest rewards in terms of focus. Yoga visuals often highlight the gaze point, or drishti, which is essential for maintaining balance.
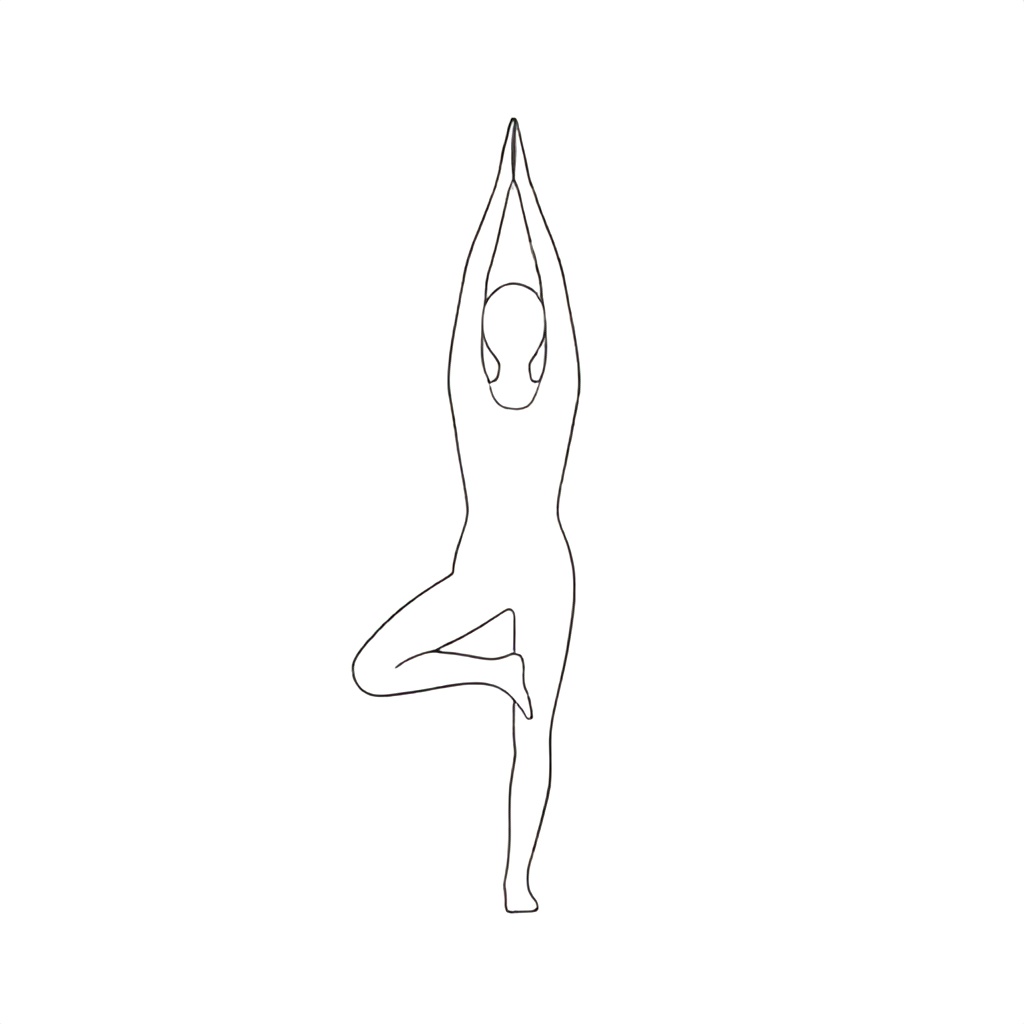
Tree Pose (Vrksasana)
Tree pose helps improve balance and concentration. Stand in Mountain pose, then shift your weight onto your left foot. Bend your right knee and place the sole of your right foot on your inner left thigh or calf. Avoid placing the foot directly on the knee joint to prevent injury. Bring your hands to your heart in prayer position or extend them overhead like branches. Find a fixed point in front of you to gaze at. This helps keep your body steady. If you wobble, simply reset and try again. The beauty of this pose lies in the minor adjustments your body makes to stay upright.
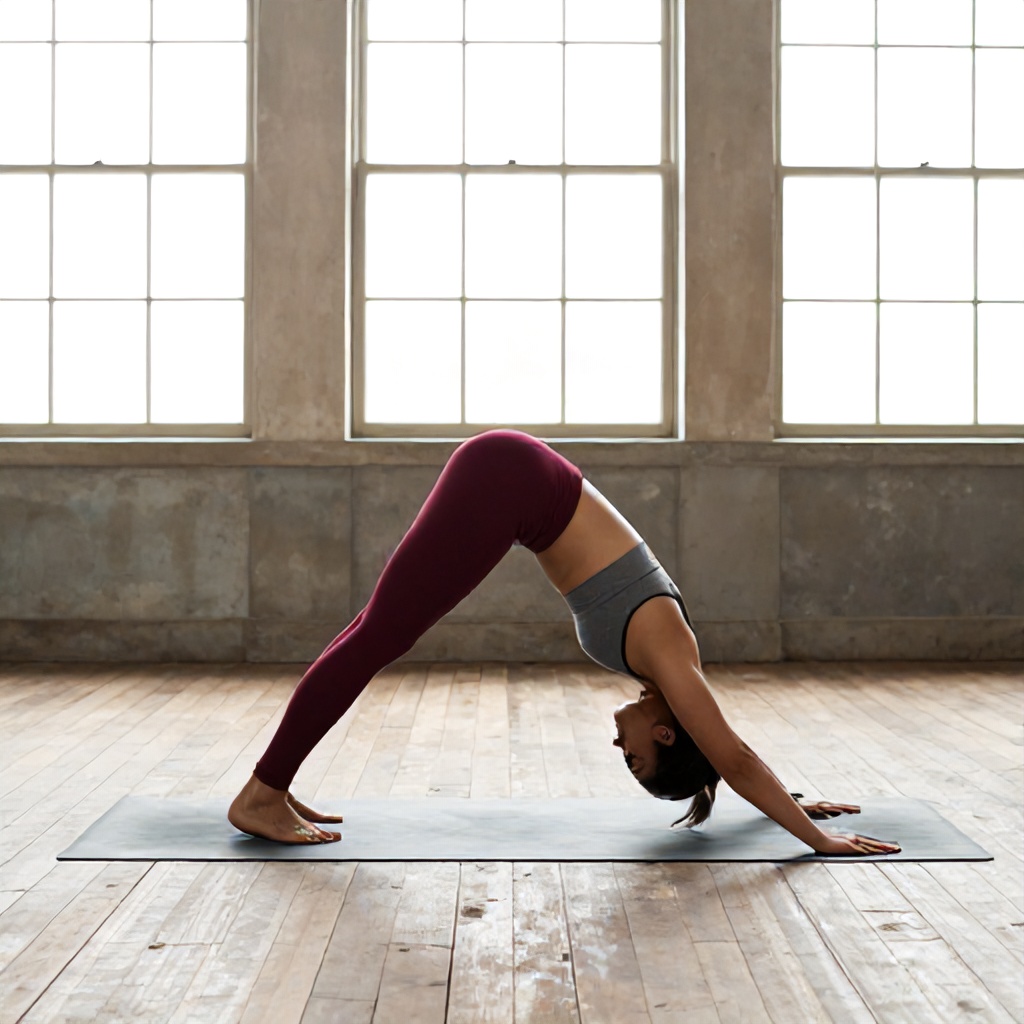
Downward-Facing Dog (Adho Mukha Svanasana)
This is perhaps the most iconic of all yoga postures. Start on your hands and knees, then lift your hips toward the ceiling, forming an inverted V-shape. Spread your fingers wide and press firmly into the mat. Your head should hang freely between your upper arms. Focus on lengthening your spine rather than getting your heels to the floor. If your hamstrings are tight, keep your knees bent. This pose is a full-body stretch that engages the arms, back, and legs simultaneously. It is frequently used as a transition in yoga sequences to reset the body.
Refining Your Yoga Alignment
Alignment is the secret to a sustainable practice. When your joints are stacked correctly, you can hold poses longer and with less risk of injury. Think of your body as a series of levers and pulleys. When you move into a pose, check your foundation first. Are your feet grounded? Is your core engaged? Is your breath flowing?
Many people struggle with yoga anatomy because they try to force their bodies into shapes they see in magazines. Instead, focus on how the pose feels. If you are practicing in a space with muted purple decor, let that calm environment influence your pace. Move slowly. Use props like blocks, straps, and bolsters to bring the floor closer to you. There is no shame in using equipment; it is a sign of a smart practitioner who values longevity over ego.
When you look at yoga illustrations, pay attention to the angles. A slight tilt of the pelvis can change the entire sensation of a pose. For example, in a lunge, tucking your tailbone slightly can protect your lower back and deepen the stretch in your hip flexors. These small, subtle shifts are what separate a casual stretch from a true yoga practice.
Integrating Yoga into Your Daily Routine
You do not need an hour to reap the benefits of yoga. Even ten minutes of intentional movement can shift your mood and energy levels. Create a small corner in your home that feels inviting. A peachy-pink background or a simple mat in a neutral color can make your practice space feel like a sanctuary. Consistency matters more than intensity.
Start by picking three poses you enjoy. Maybe you love the grounding nature of Mountain pose, the stretch of Downward-Facing Dog, and the restfulness of Child’s pose. Create a simple flow that moves you from one to the other. Use your breath as the bridge between these shapes. Inhale as you expand, and exhale as you fold or twist. This rhythmic breathing is what turns a series of yoga positions into a moving meditation.
Keep a journal of your progress. Note which poses feel tight and which feel fluid. Over time, you will see how your body changes. You might notice that your shoulders feel less tense after a long day at the desk, or that your balance has improved during everyday activities. These are the real markers of progress, not how deep you can fold or how high you can lift your leg.
Common Mistakes to Avoid
One of the most common errors is holding the breath. When a pose becomes difficult, the natural tendency is to clench the jaw or hold the breath. This signals to your nervous system that you are in danger, which creates tension. Instead, consciously soften your face and deepen your breath. If you find yourself gasping, back out of the pose slightly.
Another mistake is over-stretching. Flexibility is a byproduct of yoga, not the primary goal. Never push into a sharp or shooting pain. If you feel a dull, aching sensation, that is usually a sign that you are pushing too hard. Listen to your body. It will tell you exactly what it needs if you are willing to pay attention. Remember that every day is different; some days you will feel open and flexible, while other days you will feel stiff and tired. Both are perfectly normal.
Finally, avoid comparing yourself to others. Yoga is an individual practice. The person next to you might have a different skeletal structure, a different history of injuries, or a different level of experience. Focus on your own mat. Your yoga practice is a conversation between you and your body, not a performance for anyone else.
The Role of Props and Modifications
Props are not just for beginners. They are tools that help you achieve better alignment. A block under your hand in a triangle pose can prevent you from collapsing your chest. A strap can help you maintain a straight spine in a seated fold. A bolster under your knees in Savasana can release tension in your lower back. Using these items allows you to experience the full benefit of the pose without compromising your form.
Think of your yoga practice as a lifelong project. You are building a relationship with your physical self. As you age, your needs will change, and your practice should evolve with you. What works for you today might look different in five years, and that is perfectly fine. The key is to remain curious and open to the process.
When you are looking for inspiration, seek out high-quality yoga diagrams that explain the mechanics of the pose. Understanding the anatomy—which muscles are lengthening and which are contracting—can help you perform the movements with more precision. This knowledge empowers you to practice safely at home, even without a teacher present.
Creating Your Own Sequences
Once you are comfortable with individual poses, you can start to link them together. A good sequence usually follows a logical progression: starting with gentle warm-ups, moving into more active standing poses, and finishing with cooling floor-based stretches. This structure helps prepare the body for deeper work and ensures a safe transition back to a resting state.
For a morning sequence, focus on poses that wake up the spine and increase circulation. Cat-Cow stretches are excellent for this. Start on your hands and knees. Inhale as you drop your belly and look up, and exhale as you round your spine and tuck your chin. Repeat this ten times to lubricate the vertebrae. Follow this with a few rounds of Sun Salutations to build heat.
For an evening sequence, focus on poses that release the day’s stress. Legs-Up-The-Wall is a fantastic restorative pose. Simply lie on your back and rest your legs vertically against a wall. This helps drain fluid from the legs and calms the nervous system. Stay here for five to ten minutes, focusing on slow, deep breaths. It is the perfect way to signal to your body that it is time to wind down.
Final Thoughts on Your Practice
Yoga is a practice of showing up. It is about the commitment to spend time with yourself, moving in ways that feel good and restorative. Whether you are following a complex sequence or just doing a few simple stretches, the value lies in the attention you bring to the moment. Keep your space clean and inviting, use your props wisely, and always prioritize your breath over the depth of your pose.
As you continue your journey, remember that the poses are just shapes. The real yoga happens in the space between the shapes—in the way you handle the challenge of a difficult pose, the way you breathe through discomfort, and the way you treat yourself with kindness when you fall out of balance. This is the essence of a sustainable and rewarding practice. Enjoy the process of learning your body, one pose at a time.
Stay consistent, stay curious, and keep your practice grounded in the reality of your own experience. There is no right or wrong way to feel in a pose, only the way that is right for you in this exact moment. By focusing on alignment, breath, and mindful movement, you create a foundation that will support you for years to come. Your mat is always there for you, waiting for your next session.