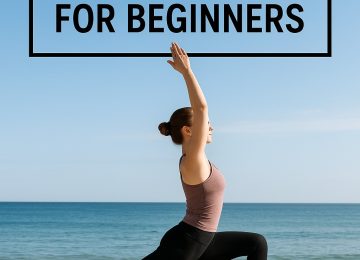
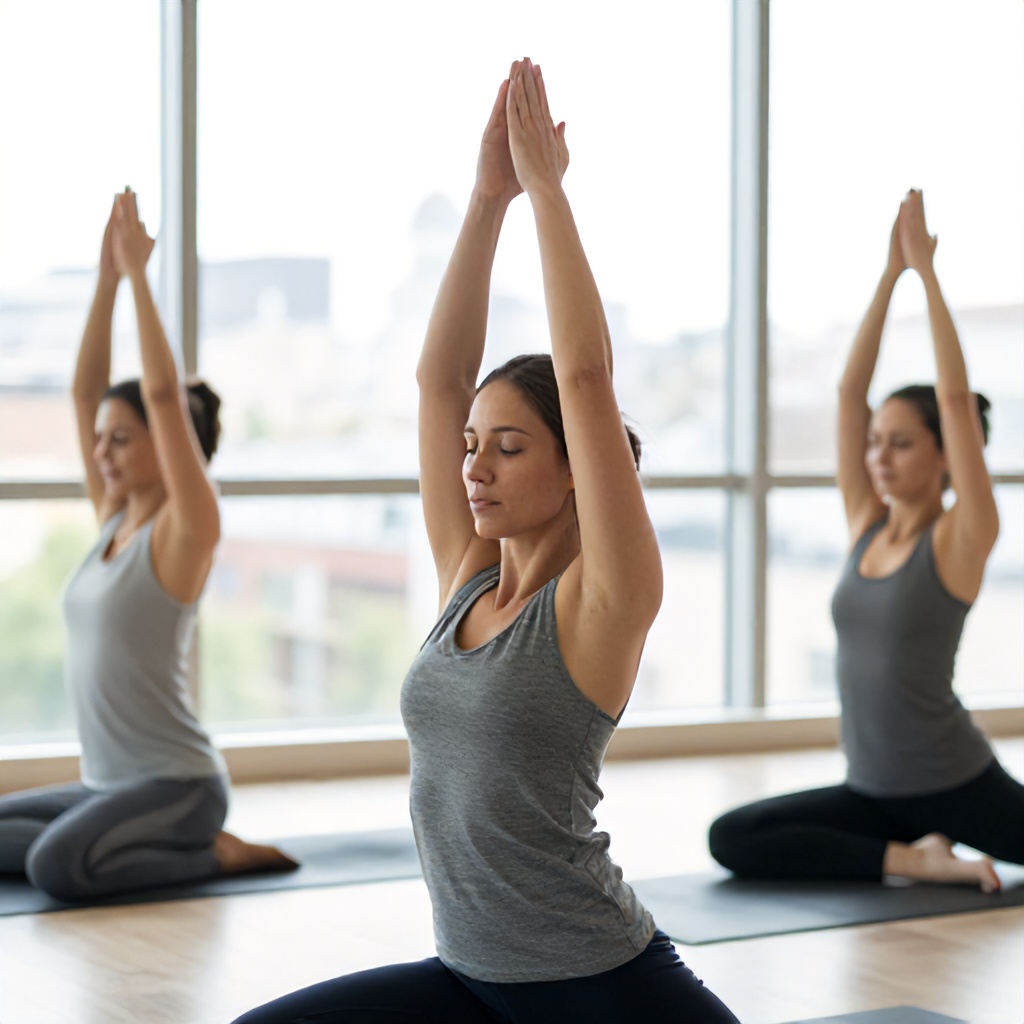
Common Yoga Alignment Mistakes for Newbies and How to Avoid Them
If your New Year’s resolution was to start a yoga routine, you’re probably enjoying your downward dogs and tree poses. But as a yoga newbie, you might be making common alignment mistakes that could actually be working against the benefits of your practice, potentially leading to more postural imbalances and injuries.
The biggest pitfall? Getting competitive in your yoga class and rushing into advanced poses instead of building strength gradually. As expert yoga teacher Kirsty Gallagher notes, “We all do it. But it’s far better to master a beginner’s pose than to push yourself and feel awful in the hardest variation.”
She emphasizes that in her yoga classes, the focus is on feeling and intention, not just how advanced you look. “If you’re just clinging on for dear life in a handstand, you’ve lost the essence of yoga in that pose.”
So, how can you refine your yoga technique to get the most out of your yoga classes? Let’s tackle these common beginner’s mistakes in popular poses. Remember, perfection isn’t the goal, as Kirsty wisely advises: “It’s okay not to have perfected every yoga move, as long as by the end of your practice your body feels better. You’re winning all around.”
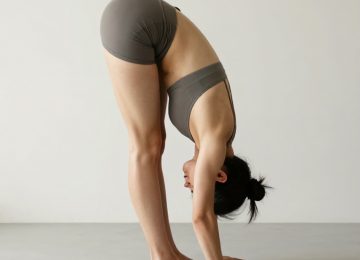
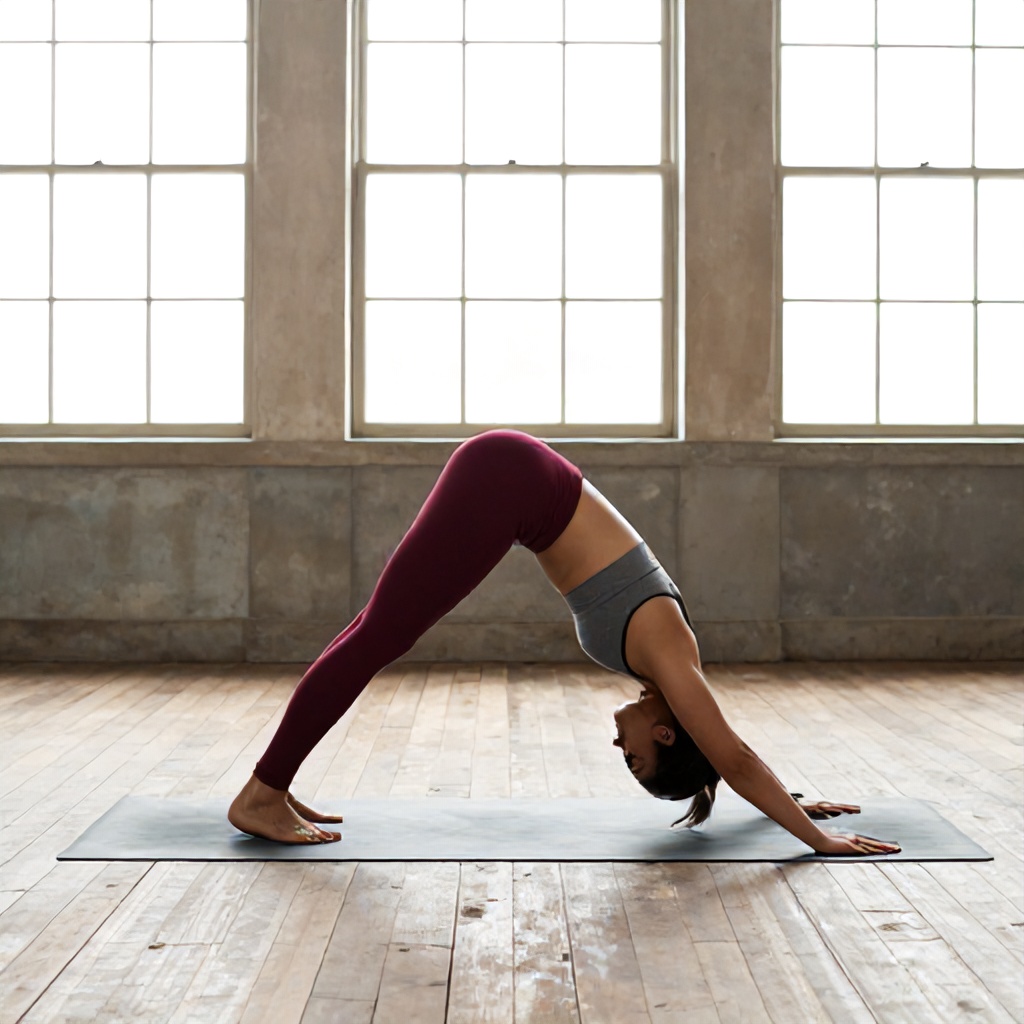
1. Mastering Downward Dog
Downward dog is frequently done incorrectly, according to Kirsty. The main culprits are postural misalignment and tight muscles. As you progress in yoga, down dog becomes more comfortable as your body opens up and tightness lessens. However, before you reach that stage, tight shoulders and hamstrings can be significant obstacles.
The common issue arises when people with tight muscles try to straighten their legs too soon. This often leads to a rounded upper back. Instead, it’s better to bend the knees slightly to help lift the back of the hipbones. Another frequent mistake is putting too much weight into the hands and arms because the shoulders can’t externally rotate enough, resulting in a rounded back sensation when the goal is a straight and aligned spine.
How to Fix Downward Dog Alignment
Kirsty suggests always encouraging students to keep their knees bent. Don’t force your heels to the floor, as this can encourage the rounding sensation in your back. Focus on lengthening your spine and sending your hips up and back.
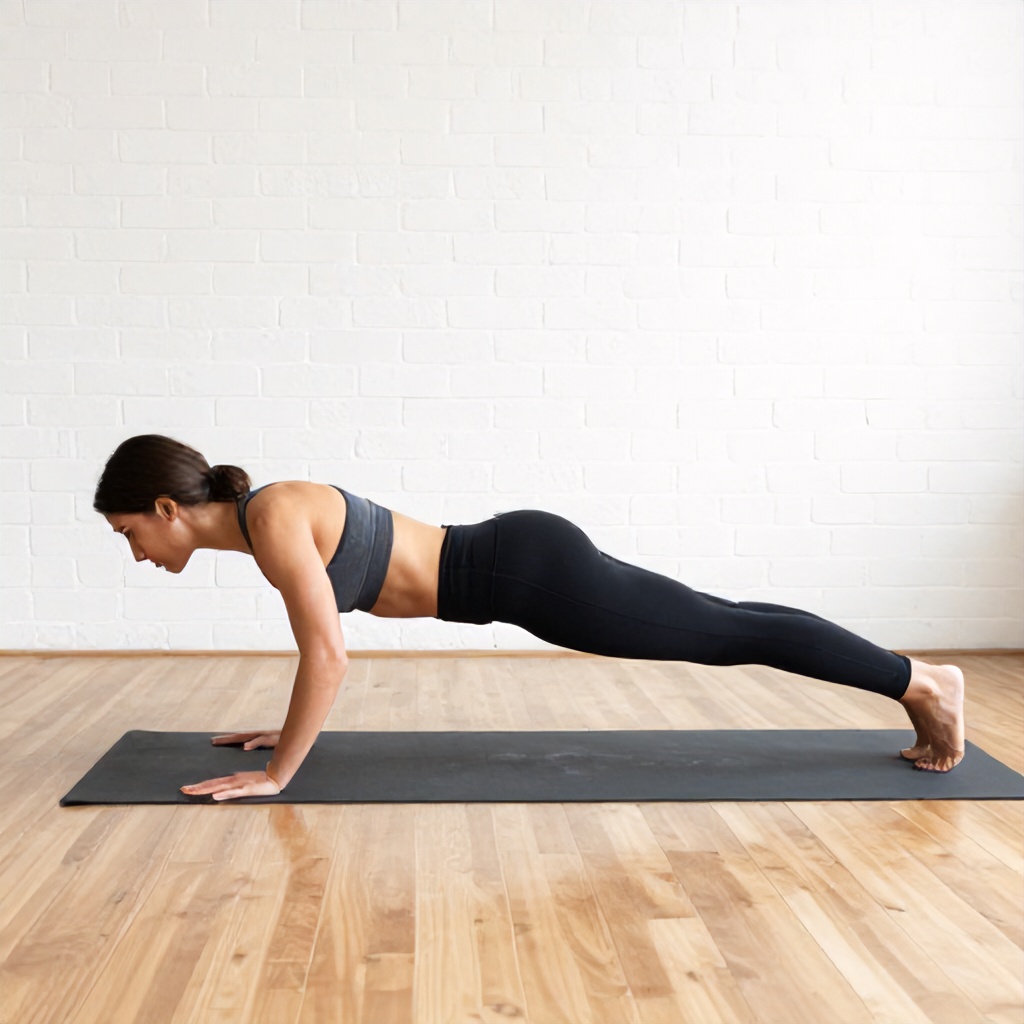
2. Perfecting Chaturanga
A primary challenge with Chaturanga for beginners is a lack of the necessary strength to perform the pose correctly. Kirsty observes that many people drop their shoulders and lift their hips too high. This compresses the front of the shoulder, putting excessive strain on that area rather than distributing the effort to the triceps and core.
Some instruction methods involve a “knees chest chin” movement, which doesn’t always build the specific strength needed in the triceps and core for a proper Chaturanga. This can lead to improper form and potential injury.
How to Build Chaturanga Strength
From a plank position, drop your knees directly to the floor. Keep your shoulders lifted away from your ears. Focus on engaging your core and triceps. As you build strength, you can gradually work towards lowering your body with control, keeping your elbows tucked in towards your ribs. If Chaturanga feels too challenging, modify by keeping your knees down throughout the movement.
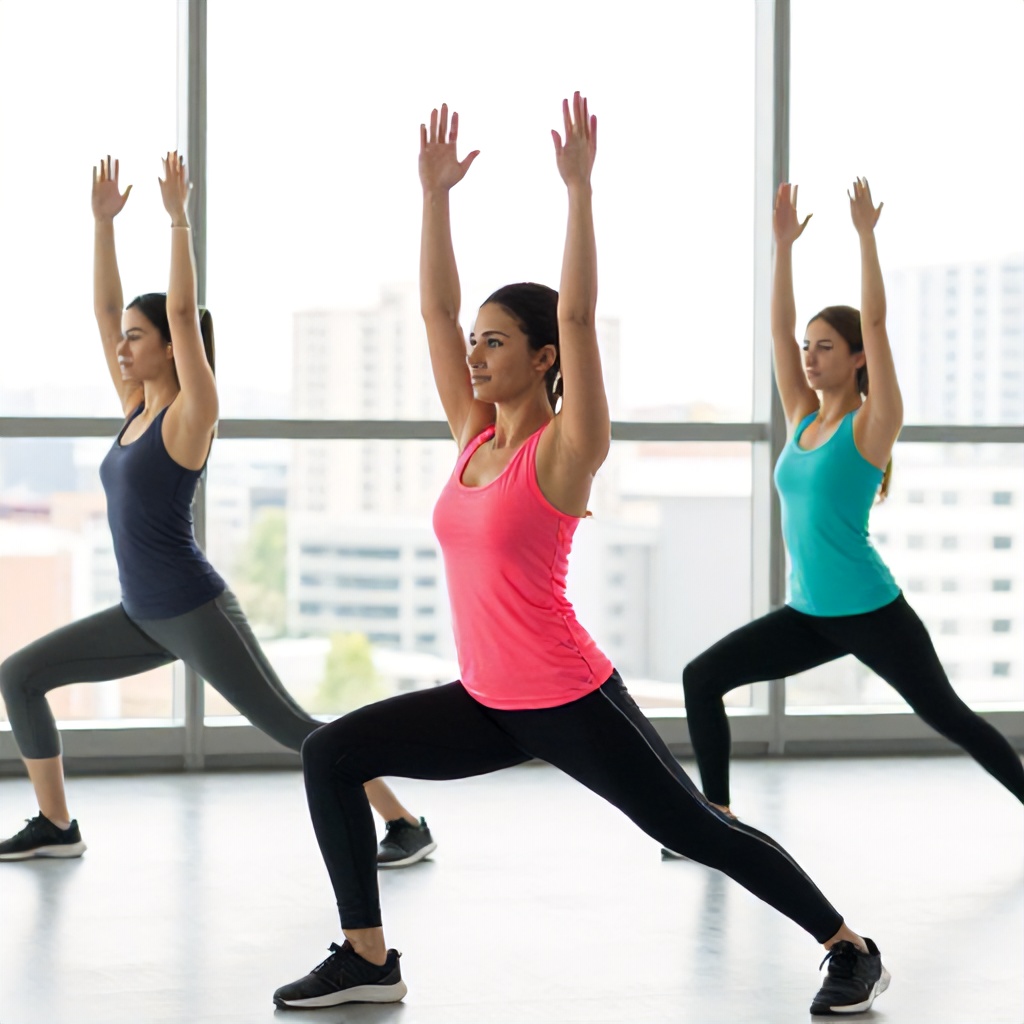
3. Understanding Warrior II
Warrior II is a foundational pose, but subtle alignment errors can cause problems. A common mistake is not properly aligning the front heel with the arch of the back foot. This can lead to instability and strain on the front knee.
Another frequent issue is allowing the front knee to collapse inward, rather than tracking over the ankle. This puts undue pressure on the knee joint and can contribute to postural imbalances. Over-extending the arms or letting the shoulders creep up towards the ears also detracts from the pose’s benefits.
Aligning Your Warrior II
Ensure your front heel is in line with the arch of your back foot. Keep your front knee tracking directly over your ankle, forming roughly a 90-degree angle. Actively press down through the outer edge of your back foot. Draw your shoulder blades down your back and extend your arms strongly out to the sides, keeping your neck long.
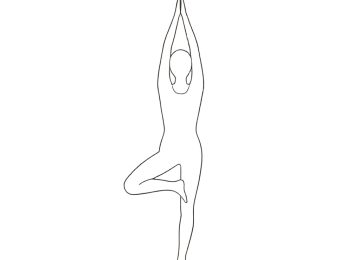
4. Finding Stability in Tree Pose
Tree pose, or Vrksasana, is a popular balancing pose that tests your stability. A common pitfall for a yoga newbie is relying too heavily on external support, like leaning against a wall, without first understanding the foundational elements of the pose. Another mistake is placing the foot too high on the standing leg, directly on the knee joint, which can cause strain.
Simply lifting the lifted leg without grounding through the standing foot also undermines the pose. The intention is to create a strong, stable base, much like a tree’s roots.
Rooting Down in Tree Pose
Begin by finding a steady gaze point (drishti). Press your standing foot firmly into the mat, engaging your thigh muscles. You can place your lifted foot on your ankle or calf, avoiding the knee. If you’re ready for more, you can bring your foot to your inner thigh. Focus on drawing your hipbones forward and engaging your core to maintain balance. It’s okay to start with your hands at heart center or even lightly touching a wall for support as you build strength and proprioception.
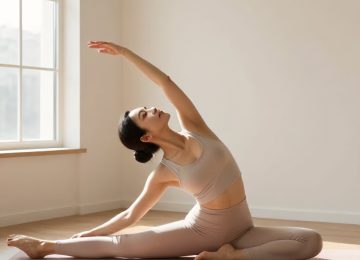
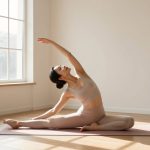
5. The Nuances of Triangle Pose
Triangle pose (Trikonasana) is excellent for stretching the hamstrings and opening the chest, but beginners often make alignment errors that limit its effectiveness and can even be harmful. A frequent mistake is not creating enough space between the feet, which makes it difficult to achieve the correct angles.
Another common issue is allowing the front knee to bend excessively, turning it into more of a lunge. This compromises the hamstring stretch and the integrity of the pose. Some people also tend to reach too far down with their top hand, causing their torso to collapse and their chest to round, rather than staying open and lifted.
Perfecting Triangle Pose
Ensure your feet are about three to four feet apart, with your front foot turned slightly inward and your back foot parallel to the top of the mat. Keep your front leg straight but avoid locking the knee. Hinge from your hips, reaching your front hand down your shin or ankle, or even to a block. Extend your top arm straight up towards the ceiling, stacking your shoulders. Keep your chest open and your gaze lifted if comfortable for your neck.
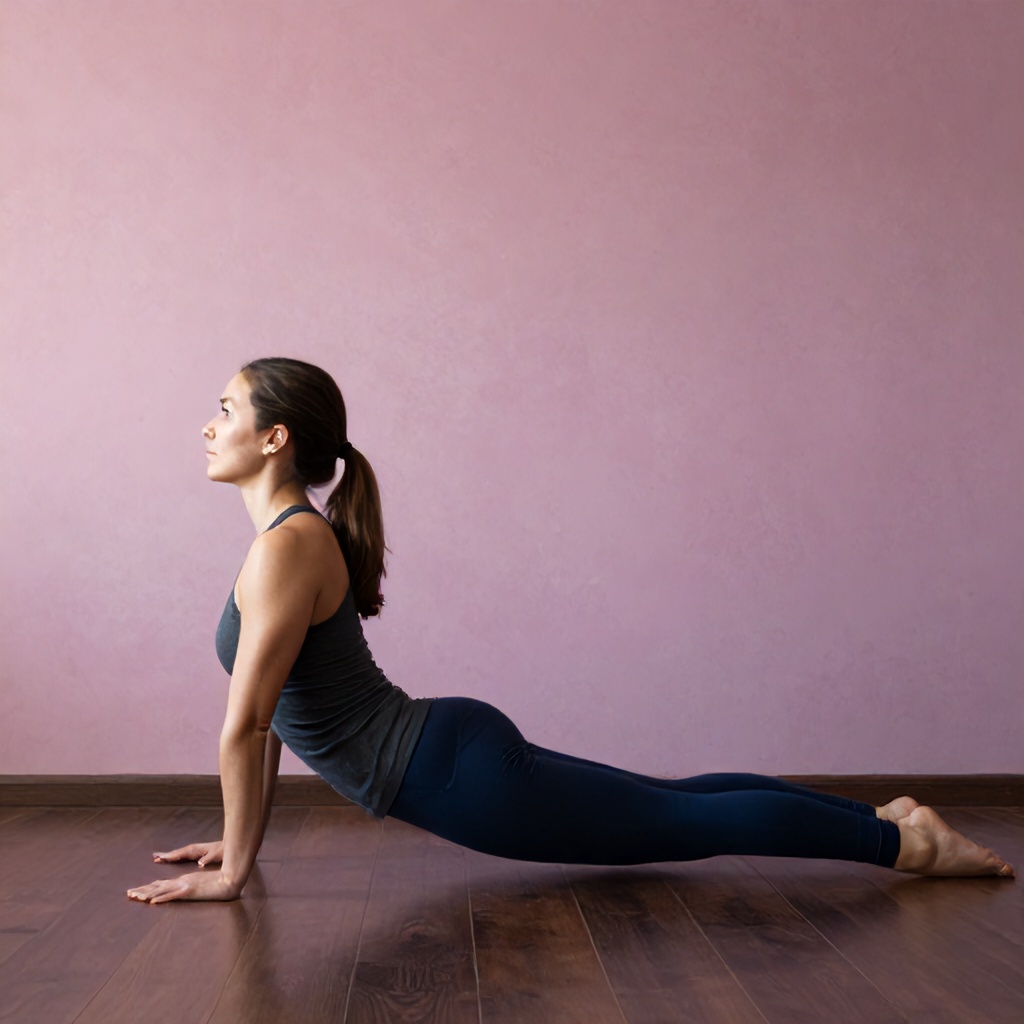
6. Cobra Pose and Backbends
When practicing Cobra Pose (Bhujangasana) or other backbends, beginners often make the mistake of relying too much on momentum or pushing up with their hands, rather than engaging their back muscles. This can lead to compression in the lower spine and strain on the wrists and shoulders.
Another common error is letting the hips lift off the mat in Cobra, which shifts the focus away from the intended backbend. Some also tend to crunch their neck or look too far forward, creating tension.
Safe Backbending in Cobra
Lie on your belly with your legs extended and the tops of your feet pressing into the mat. Place your hands under your shoulders, with your elbows tucked in. Inhale and gently peel your chest off the floor, using the strength of your back muscles. Keep your hips grounded. Press lightly into your hands for support, but avoid pushing up too high. Keep your neck long and gaze slightly forward.
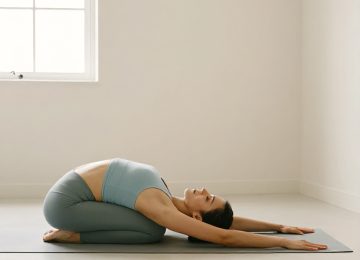
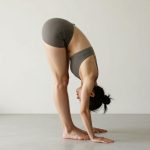
7. Seated Forward Bend
The seated forward bend (Paschimottanasana) is meant to stretch the hamstrings and spine. However, many yoga newbies round their upper back significantly, trying to reach their toes. This often stems from tight hamstrings and a lack of core engagement.
Trying to force the forehead to the knees without a long spine defeats the purpose. It can also lead to discomfort in the lower back if the spine is excessively rounded.
Forward Bend with a Long Spine
Sit with your legs extended in front of you. If your hamstrings are tight, place a cushion under your sitting bones or bend your knees slightly. Inhale and lengthen your spine, reaching your chest forward. Exhale and hinge from your hips, folding forward. Allow your hands to rest on your shins, ankles, or feet. The focus is on creating length in the spine, not on touching your toes. If you have a rounded back, it’s better to keep your knees bent and a long spine.
The Importance of Feeling and Intention
As Kirsty Gallagher consistently reminds her students, the true essence of yoga lies in feeling and intention, not in achieving advanced poses. Competitive yoga can lead to injuries and a disconnect from the practice’s mindful benefits.
Focusing on how your body feels after a yoga routine is a much better indicator of progress than comparing yourself to others. Even simple yoga moves, performed with awareness and intention, can lead to a body that feels better and a mind that is more at ease.
Listen to Your Body
Never push through pain. If a pose doesn’t feel right, or if you experience sharp or persistent discomfort, ease out of it or modify it. Your body will thank you for it. It’s better to do a modified pose with correct alignment and good intention than to force an advanced variation incorrectly.
By understanding and addressing these common alignment mistakes, you can deepen your yoga practice, prevent injuries, and truly experience the transformative power of yoga. Remember, patience and consistent practice are key to building strength and flexibility, allowing you to move towards more advanced poses safely and effectively. Your journey as a yoga newbie is about exploration and self-discovery, not about reaching an endpoint.