Creating a Stunning Layered Drink
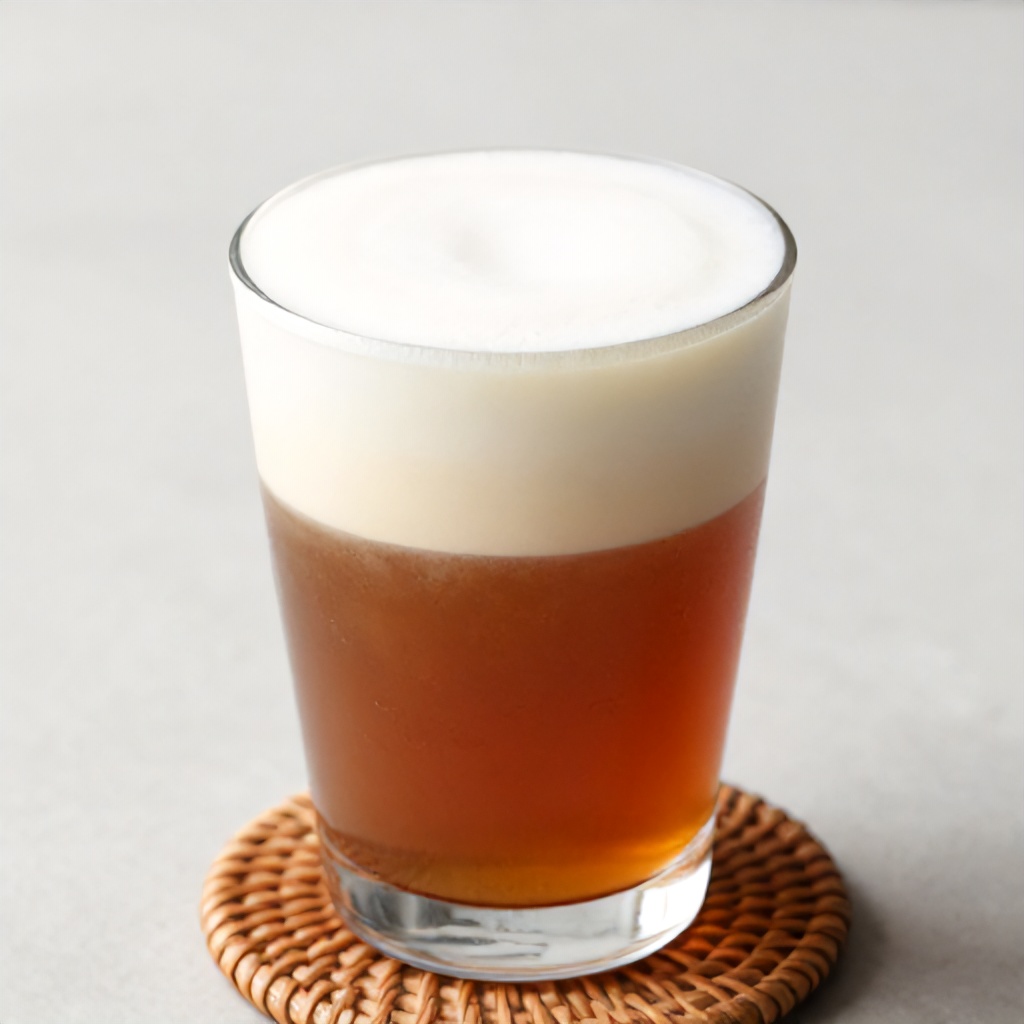
Achieving a visually appealing layered drink is surprisingly achievable with a little know-how and the right technique, resulting in a beautiful gradient effect that’s as delightful to look at as it is to sip. This isn’t about complicated mixology; it’s about understanding density and using gravity to your advantage, transforming a simple beverage into a work of art. Imagine a tall, clear glass showcasing distinct layers of white liquid and amber liquid, resting elegantly on a woven coaster. That’s the magic we’re aiming for.
The secret lies in the specific gravity of the liquids. Denser liquids sink, while less dense liquids float. By carefully pouring liquids with varying sugar content and alcohol percentages (if applicable), you can create these captivating visual separations. It’s a simple science that yields a spectacular result, perfect for impressing guests or simply treating yourself to something special. We’ll explore how to build these layers, from the base to the top, ensuring each stratum remains distinct and vibrant. Think of it as painting with liquids, where each pour adds a new dimension to your edible canvas.
Understanding Liquid Density
Density is the key player here. It’s essentially how much “stuff” is packed into a certain volume. Liquids with higher sugar content are generally denser than those with lower sugar content. Similarly, heavier spirits tend to be denser than lighter mixers. This fundamental principle dictates which liquid will sit on top and which will sink to the bottom. It’s not just about color; it’s about the intrinsic properties of the liquids themselves.
When you pour a denser liquid into a less dense liquid, it will naturally sink. Conversely, pouring a less dense liquid onto a denser one will cause it to float. The challenge and the art come in pouring these liquids in a way that prevents them from mixing immediately. This is where technique becomes paramount. We’re not just dumping ingredients; we’re carefully introducing them to maintain that beautiful separation.
Choosing Your Liquids
The fun begins with selecting your ingredients. For a non-alcoholic layered beverage, think about juices, syrups, and creamy bases. A creamy white liquid like coconut milk or a dairy-free creamer can form a beautiful base or middle layer. For the amber liquid, consider fruit juices like mango, peach, or even a lightly colored tea. The contrast in color is what makes the layered effect pop.
If you’re crafting a layered cocktail, the possibilities expand. Liqueurs, heavier spirits like rum or whiskey, and even certain syrups can be used. For example, a dense grenadine will always sink, making it a fantastic choice for the bottom layer of a Tequila Sunrise. The key is to have at least two, preferably three, liquids with noticeably different densities and colors. This ensures clear, distinct layers rather than a muddy blend.
Consider the flavor profile too. You don’t want layers that clash horribly. Think about how the flavors will meld as the drink is consumed. A sweet, fruity top layer might complement a slightly tart middle layer, leading to a complex and enjoyable taste experience. The visual appeal is important, but the taste should not be an afterthought. A truly great layered drink is a feast for both the eyes and the palate.
The Pouring Technique: Slow and Steady Wins the Race
This is where the magic happens, and it requires patience. The most effective method for creating distinct layers is to pour the less dense liquid over the back of a spoon. Hold the spoon just above the surface of the liquid already in the glass, with the back of the spoon facing upwards. Slowly and gently pour the next liquid over the spoon. The spoon disperses the flow of the liquid, allowing it to gently cascade over the denser layer below without disturbing it too much.
Start with your densest liquid at the bottom. This is usually the one with the highest sugar content or the heaviest alcohol. Pour it into your clear glass. Then, take your spoon and position it as described. Slowly introduce the next liquid. You’ll see it form a distinct layer on top. Repeat this process for each subsequent layer, always pouring the less dense liquid over the spoon.
The speed of your pour is critical. Too fast, and you’ll create turbulence, causing the layers to mix. Too slow, and the liquid might start to break apart before it even reaches the existing layer. It’s a gentle, controlled flow. You’re essentially coaxing the liquid into place, not forcing it. This technique is what allows for that beautiful gradient effect, where colors transition smoothly from one to the next.
Building Your Layered Masterpiece: A Step-by-Step Example
Let’s create a simple, refreshing layered drink. We’ll use a clear glass for maximum visual impact, filled with ice cubes to keep it perfectly chilled. For our base, let’s use a vibrant, dense fruit juice. Mango nectar or peach puree works wonderfully because of its natural sweetness and viscosity.
-
Prepare Your Glass: Take a tall, clear glass. Add a generous amount of ice cubes. The ice helps keep the drink cold and also provides a physical barrier that can aid in layer separation, though the primary method is still the spoon pour.
-
The Base Layer: Pour your densest liquid – let’s say mango nectar – into the glass, filling it about one-third of the way. This vibrant amber liquid will form the foundation of our drink.
-
The Middle Layer: Now, for our second layer. We want something less dense than mango nectar but with a contrasting color. A lightly sweetened cranberry juice or even a raspberry syrup could work. Take a spoon, hold it just above the surface of the mango nectar, and slowly pour the cranberry juice over the back of the spoon. You should see a distinct layer form on top of the mango. Aim to fill the glass another third.
-
The Top Layer: For the final layer, we need something even less dense and ideally a different color. A creamy white liquid like coconut milk, a light simple syrup, or even a clear soda like Sprite or 7UP (if you’re not aiming for a creamy texture) can work. If using coconut milk, pour it gently over the back of the spoon, just like the previous layer. This white liquid will float beautifully on top of the cranberry juice, creating a stunning three-tiered visual effect.
-
Garnish and Serve: A simple garnish can enhance the visual appeal. A slice of orange or a sprig of mint adds a touch of freshness. Serve immediately while the layers are crisp and distinct. The entire composition, from the chilled drink to the textural background of a woven coaster, contributes to a calm atmosphere and a sense of comfort.
This layered beverage is not only visually appealing but also offers a delightful drinking experience as the flavors gradually blend with each sip. The interplay of the amber liquid, the potentially reddish middle layer, and the opaque white liquid creates a mesmerizing gradient effect that’s truly captivating. It showcases excellent beverage presentation and the art of drink layering.
Troubleshooting Common Layering Issues
Sometimes, despite your best efforts, the layers might not be as crisp as you’d hoped. Don’t get discouraged! This is a common part of learning the technique. One of the most frequent culprits is pouring too quickly. If your liquids are mixing, it’s often because the force of the pour is agitating the layer below. Slow down. Really take your time with each pour.
Another issue can be the density differences not being significant enough. If your liquids have very similar specific gravities, they will naturally want to mingle. Experiment with different combinations. For instance, using a very sugary syrup as the bottom layer and a lighter juice or soda on top will create a more pronounced difference than two juices with similar sugar levels. The clear glass is essential here, as it allows you to see exactly what’s happening with your liquid separation.
Temperature can also play a role, though it’s less critical than density and pouring speed. Generally, very cold liquids are slightly denser than warmer ones. However, the primary goal is for the drink to be refreshing. Ensure your ingredients are chilled, but don’t overthink temperature as the main factor for layering success. Focus on the spoon technique and density.
Finally, the type of glass matters. A tall, straight-sided glass is ideal for showcasing distinct layers. Wider glasses or those with intricate shapes can make it harder to see the clean lines between the liquids. The ice cubes should be clear and uniform if possible, as cloudy ice can detract from the overall visual appeal. The goal is a visually appealing, perfectly chilled drink.
Beyond the Basics: Advanced Layering and Presentation
Once you’ve mastered the basic layered drink, you can start experimenting with more complex creations. Consider using three or even four distinct layers for a more dramatic effect. This might involve using liqueurs of varying densities for an artisanal cocktail, or carefully layering different fruit purees and juices for a sophisticated mocktail. The visual appeal of a well-executed multi-layered drink is unparalleled.
Think about the textural background for your beverage photography. Placing your layered drink on a woven coaster, perhaps against a wrinkled fabric background, adds depth and interest. The tactile quality of the woven coaster complements the smooth, flowing liquids, creating a calm atmosphere that invites relaxation and enjoyment. This attention to detail in presentation elevates the entire experience.
The drink composition is key. How the colors interact, the height of each layer, and the overall balance contribute to its success. A gradient effect that flows smoothly from one color to the next is the hallmark of a skilled hand. This is where the art of drink layering truly shines, turning a simple refreshment into a conversation starter.
Consider using garnishes that enhance both the visual and flavor profiles. A delicate edible flower, a twist of citrus peel, or a sprig of fresh herb can add that final touch of elegance. The combination of the layered beverage itself, the ice cubes, the clear glass, and the thoughtful presentation on a woven coaster creates a complete sensory experience. It’s about crafting a moment of comfort and enjoyment, one beautifully layered sip at a time.